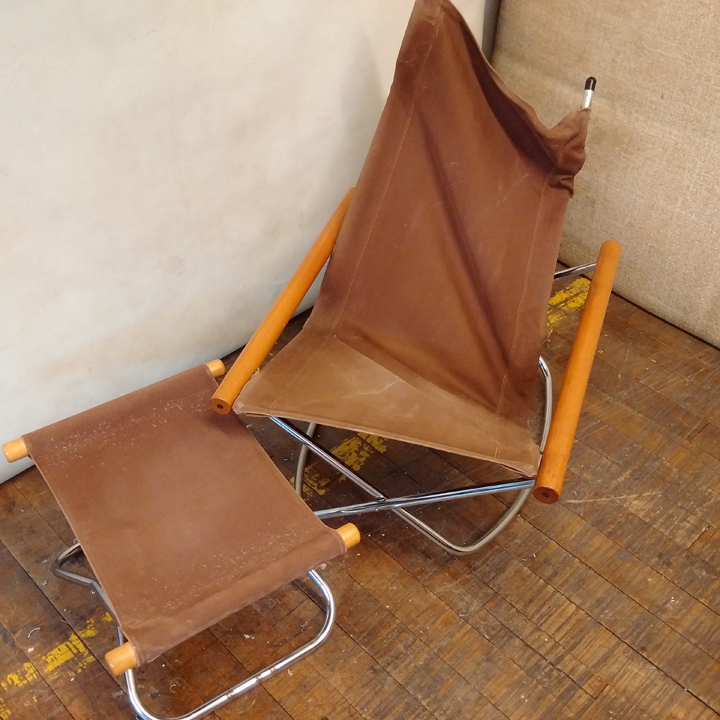
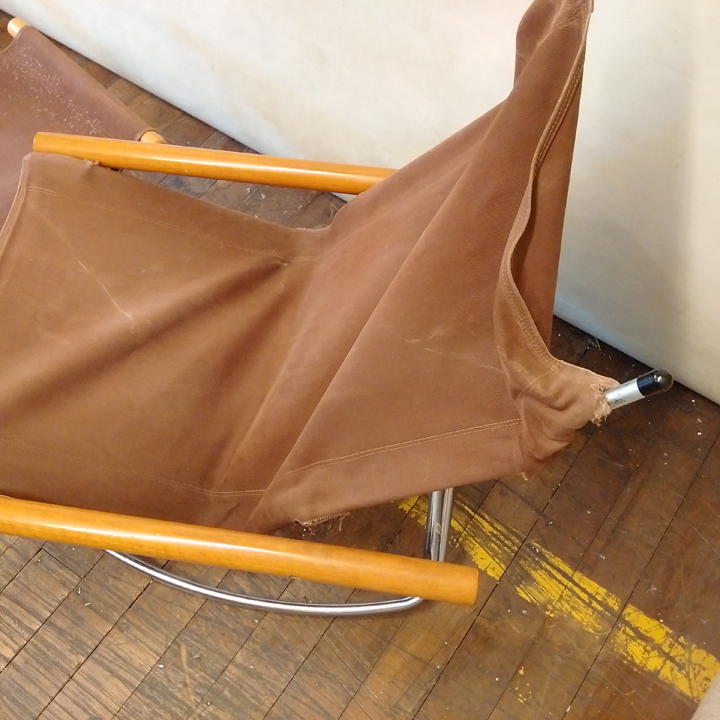
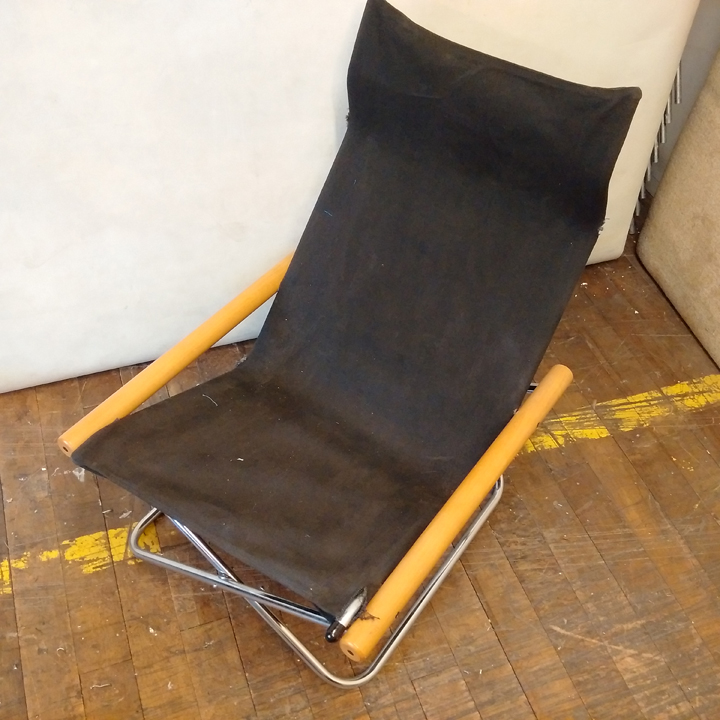
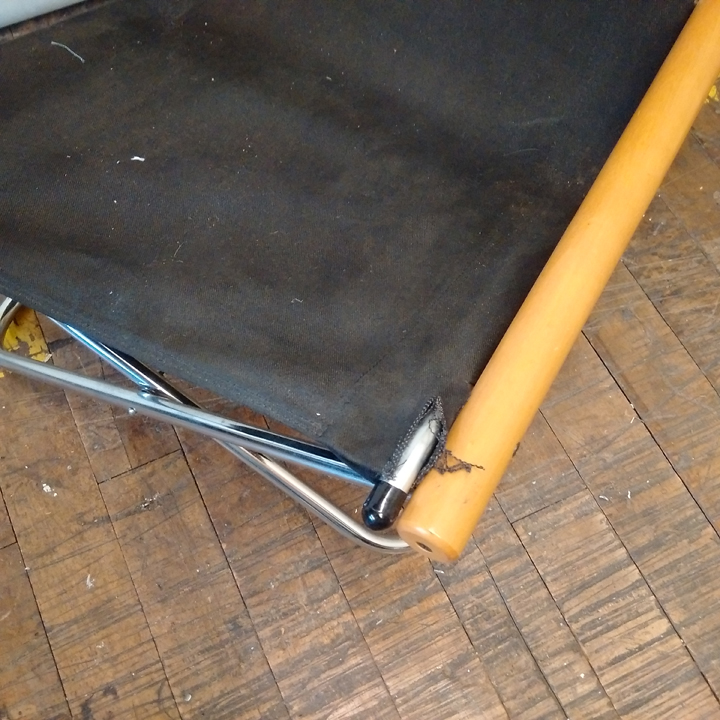
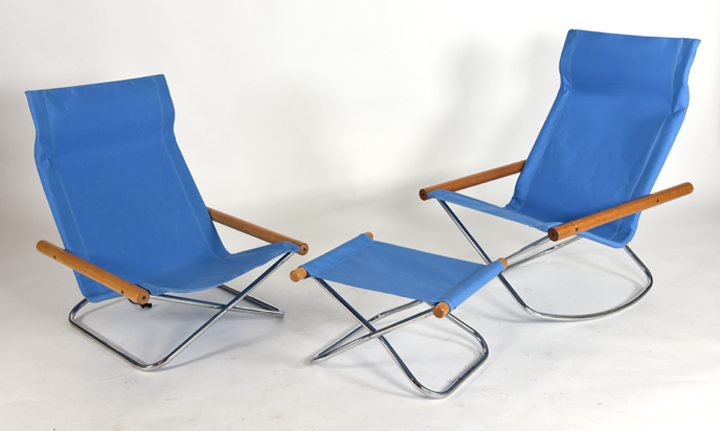
Timeless classics. Takeshi Nii Chairs. This set has the particularly rare (ish) ottoman. This was a pleasure to re-canvas in a bright blue canvas to match the chairs to each other. Now they’re a joy to use.
BEFORE…
AFTER…

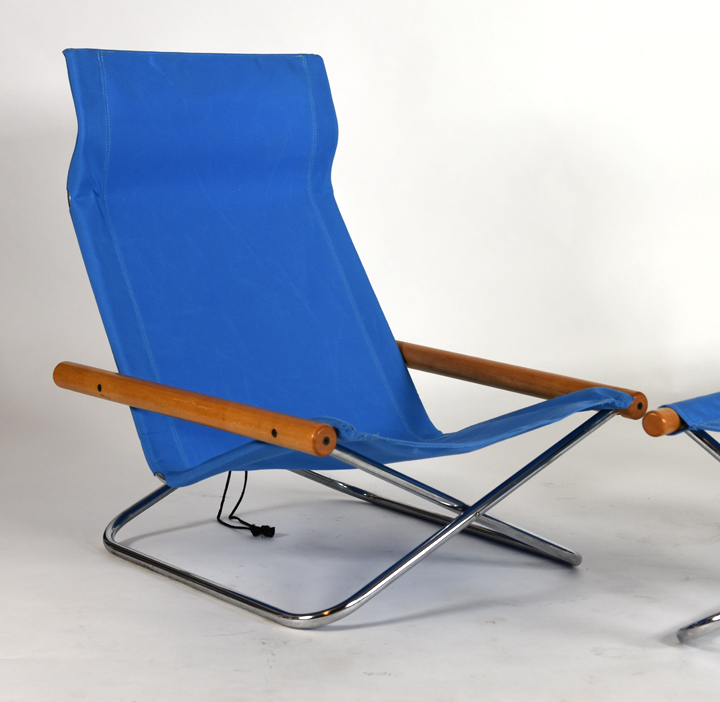
Timeless classics. Takeshi Nii Chairs. This set has the particularly rare (ish) ottoman. This was a pleasure to re-canvas in a bright blue canvas to match the chairs to each other. Now they’re a joy to use.
BEFORE…
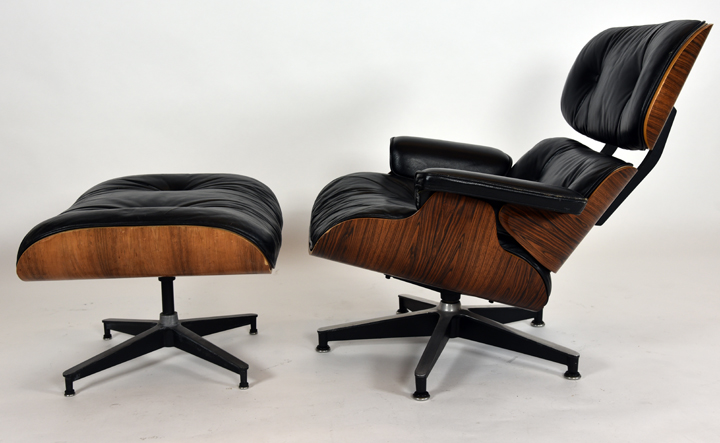
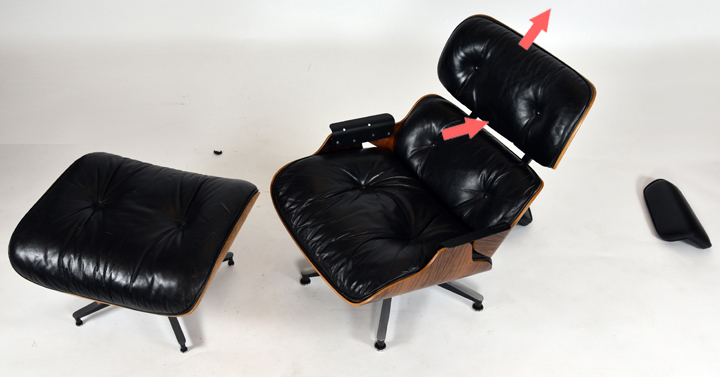
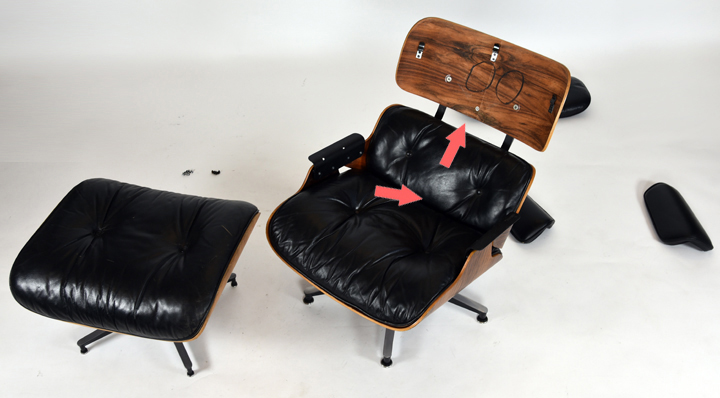
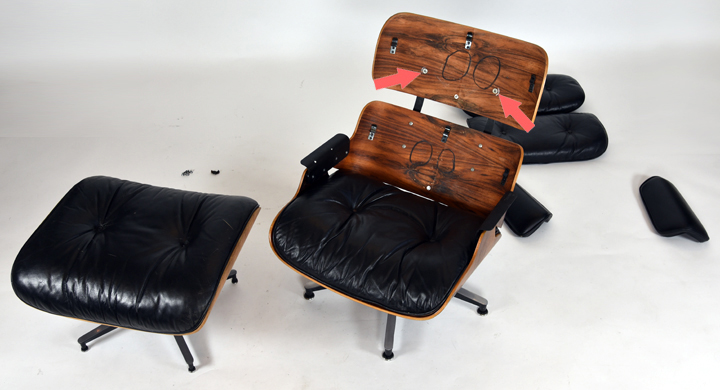
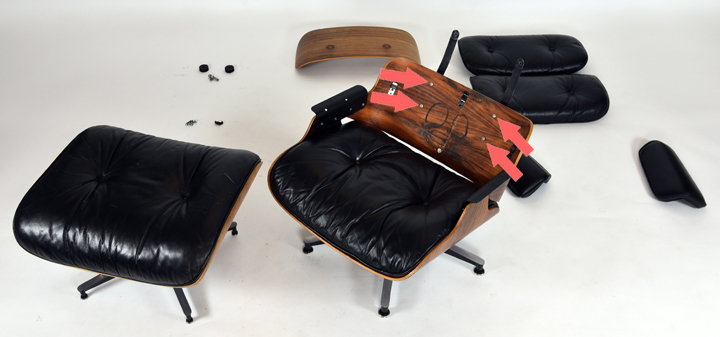
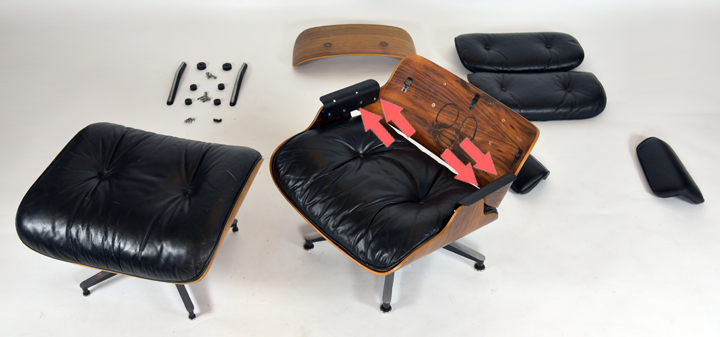
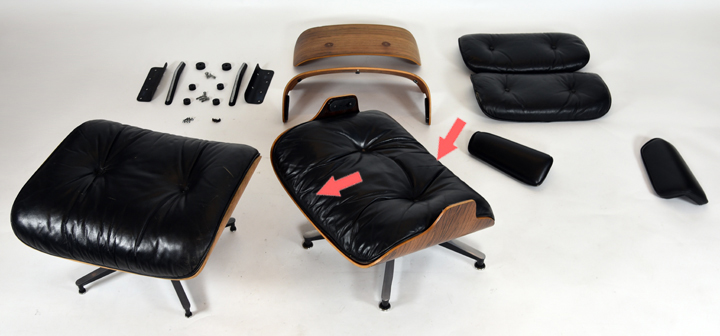
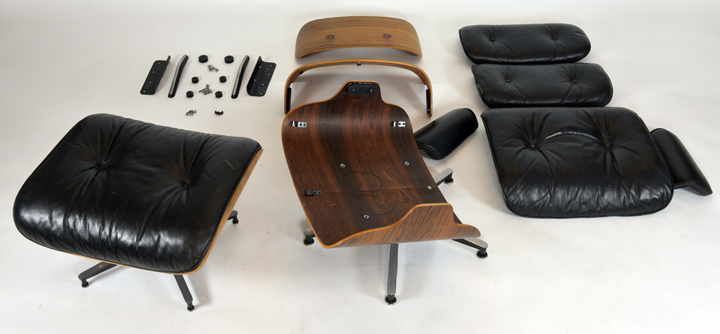
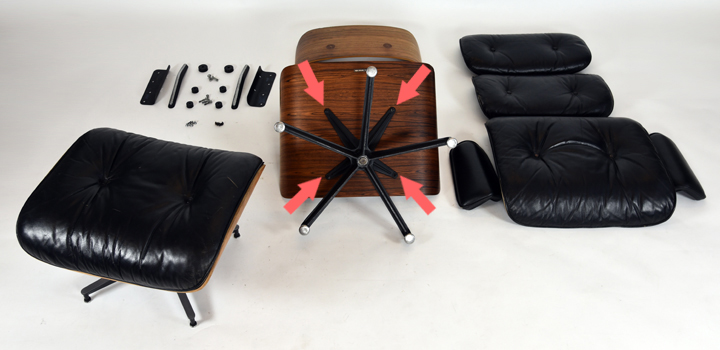
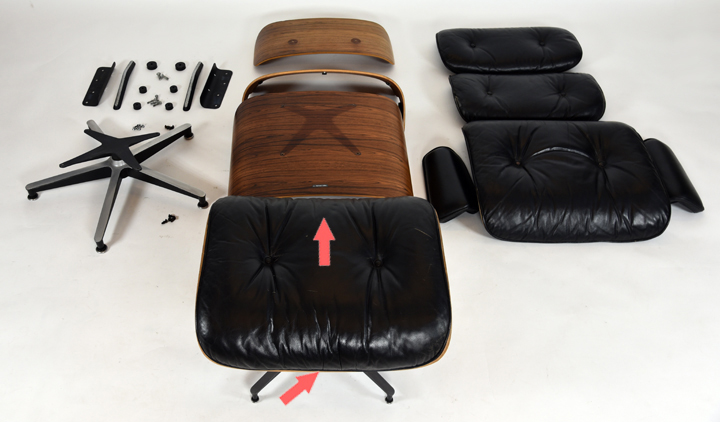
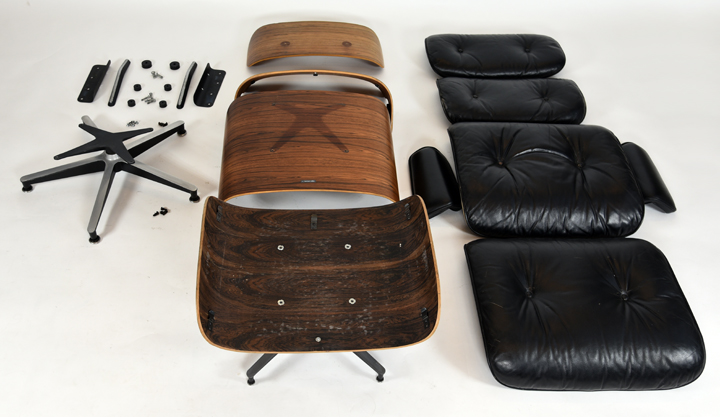
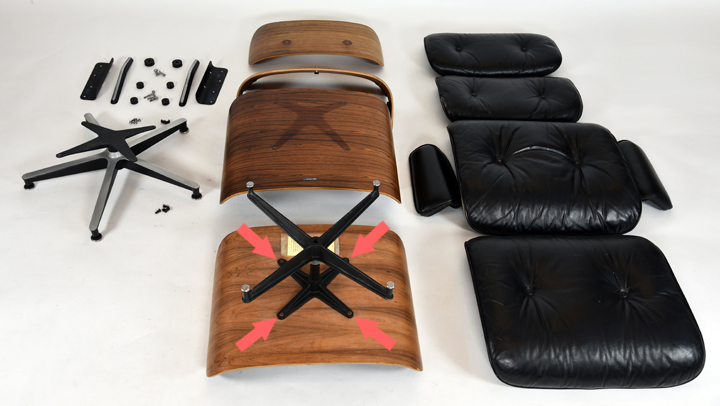
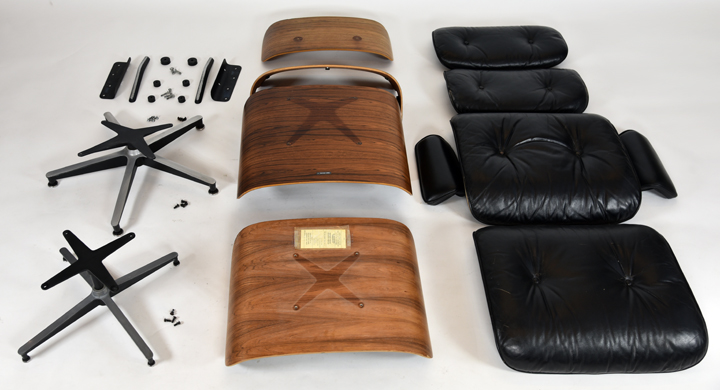
Step by step photos that will help you disassemble an Authentic Eames Lounge. The lounge shown is a late 1970’s version with flat clips that hold the upholstery on. The earlier styles will differ in that they have a pair of round clips instead of all of the flat clips. The basic concepts are the same though.


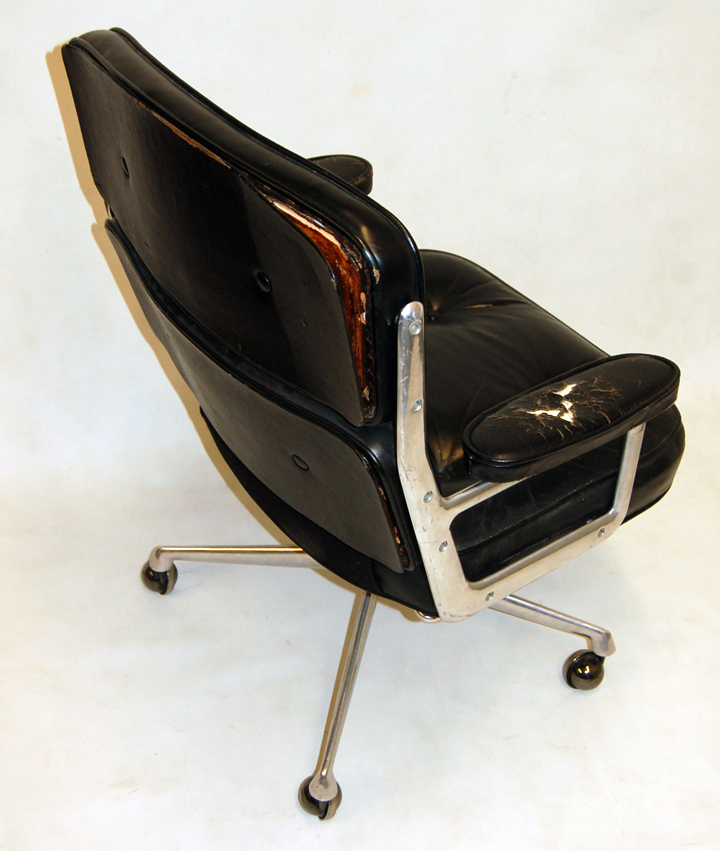
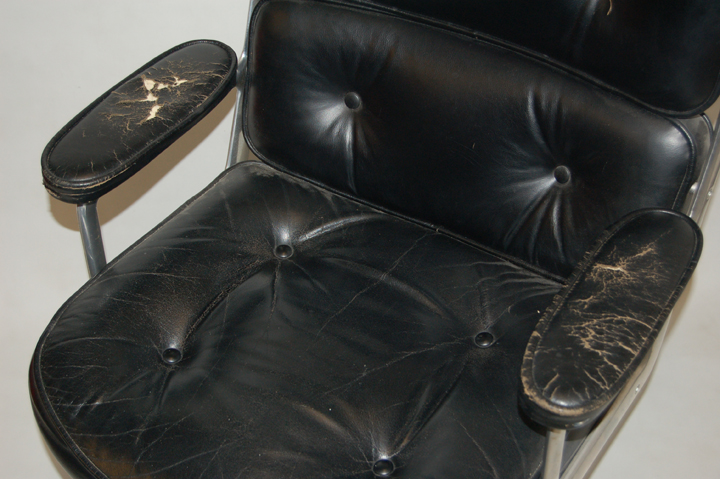
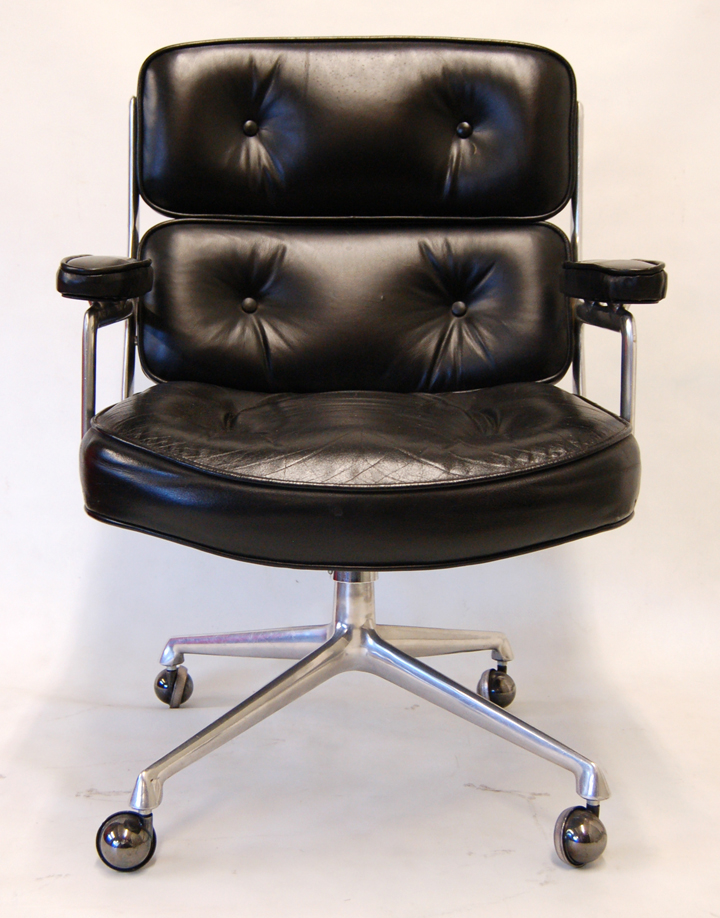
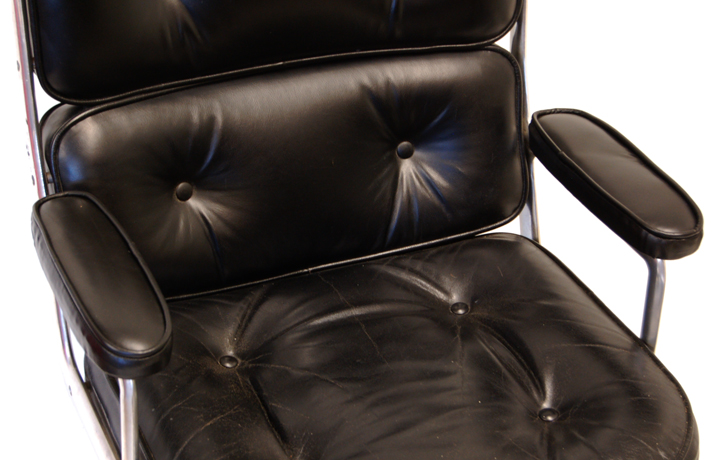
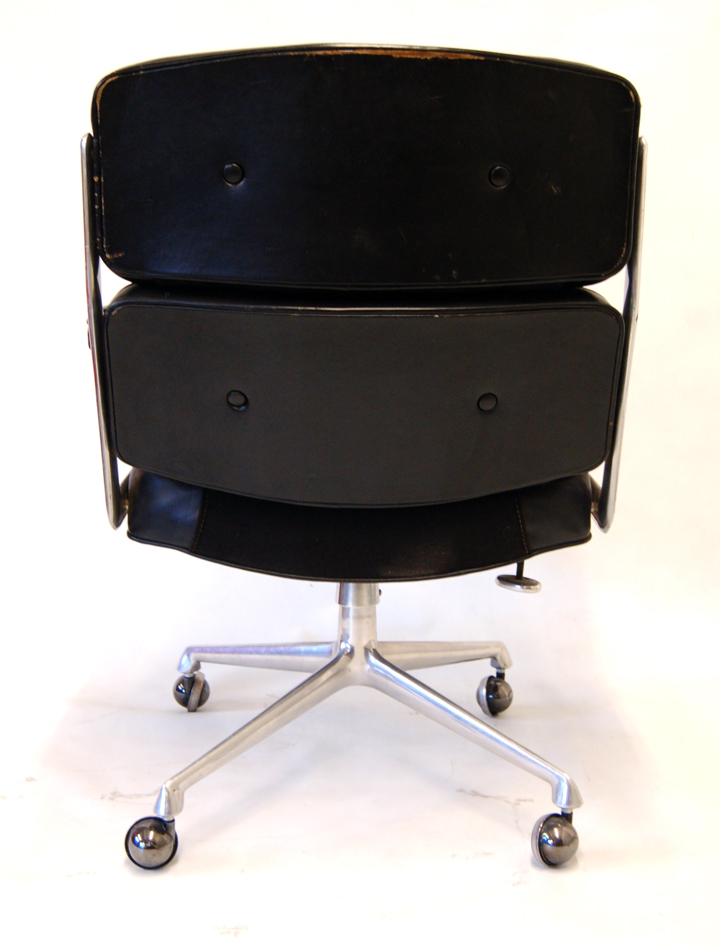
Torn up armrests and peeling panels on a lovely vintage Eames Time Life Chair. We made new armrests in leather that perfectly matches the original, and carefully cleaned and restored as much of the original leather to keep the soul of the chair, preserve it’s integrity, and maintain the highest possible value for the piece.
BEFORE…


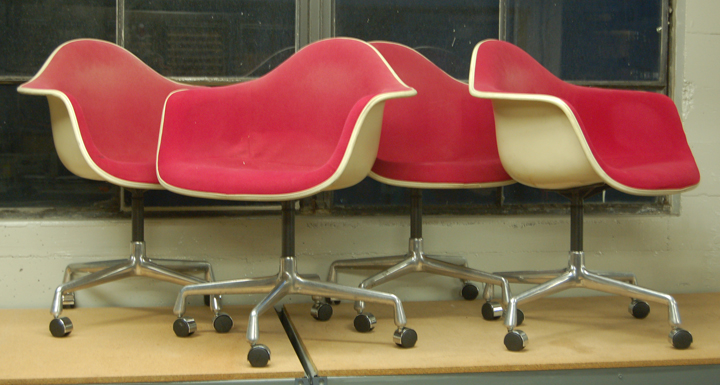
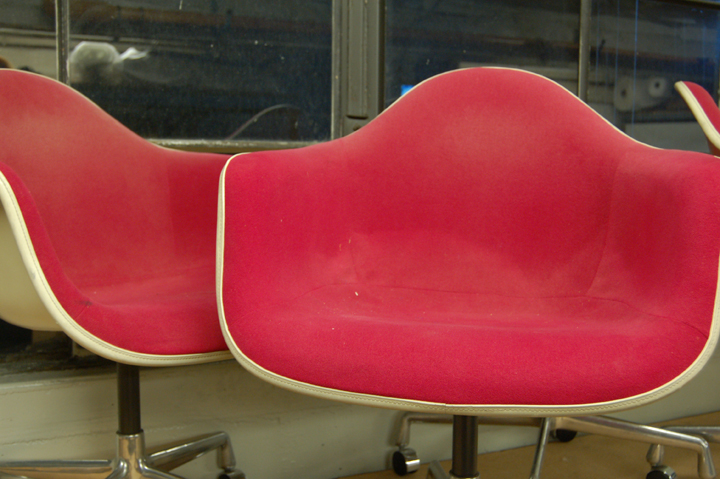
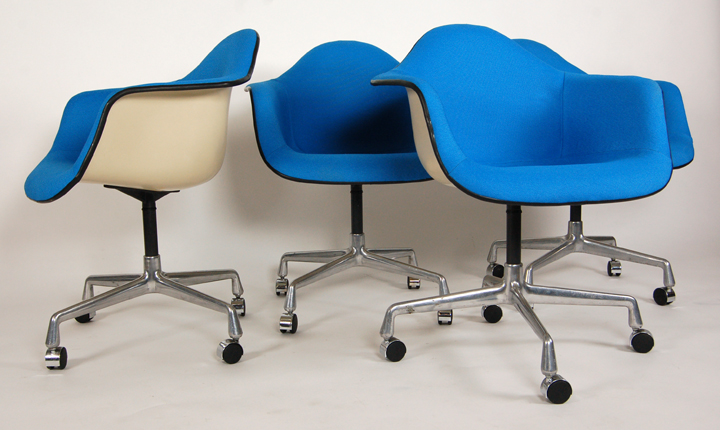
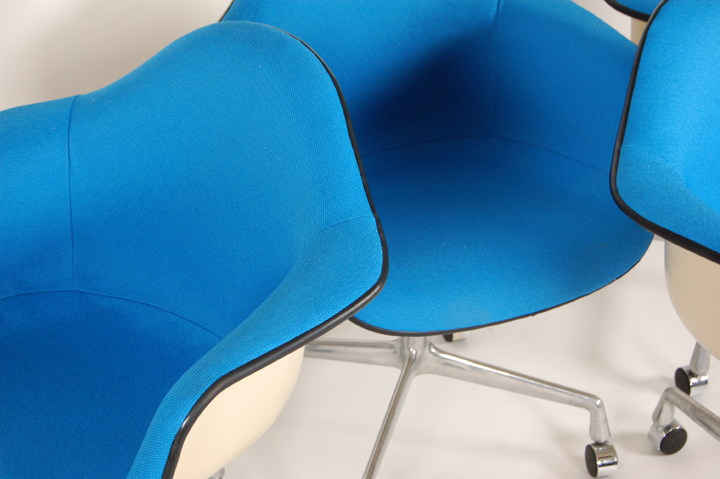
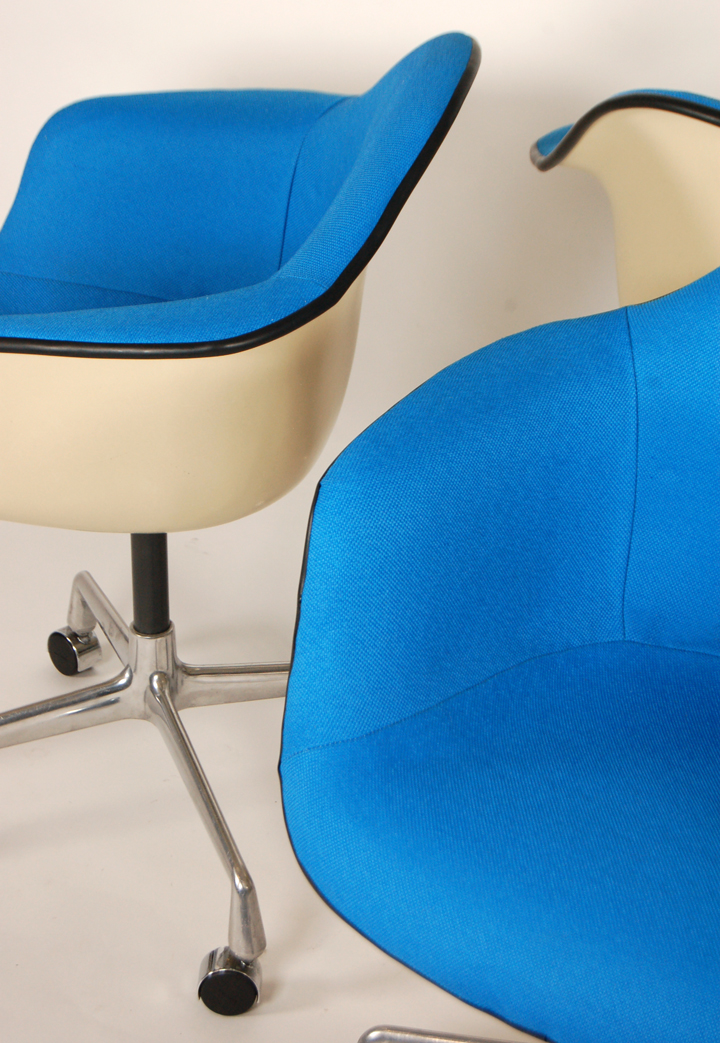
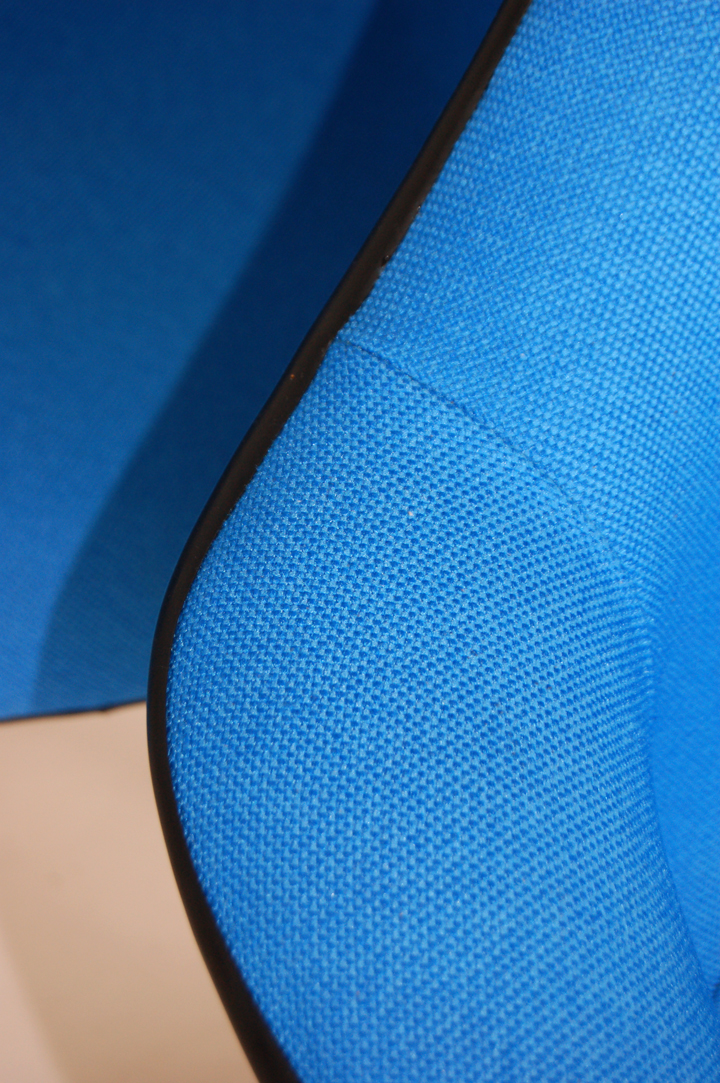
Four grimey armshells. Upholstered in Herman Miller Blue Hopsack. Vivid and fabulous.
BEFORE…
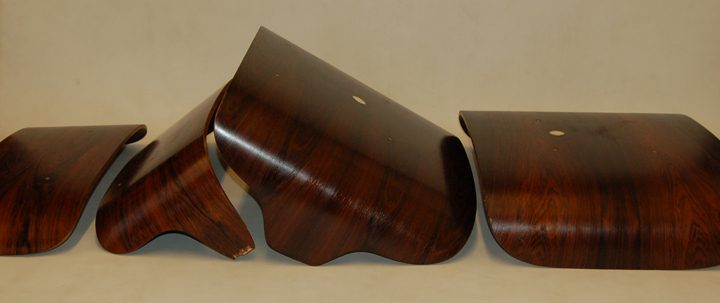
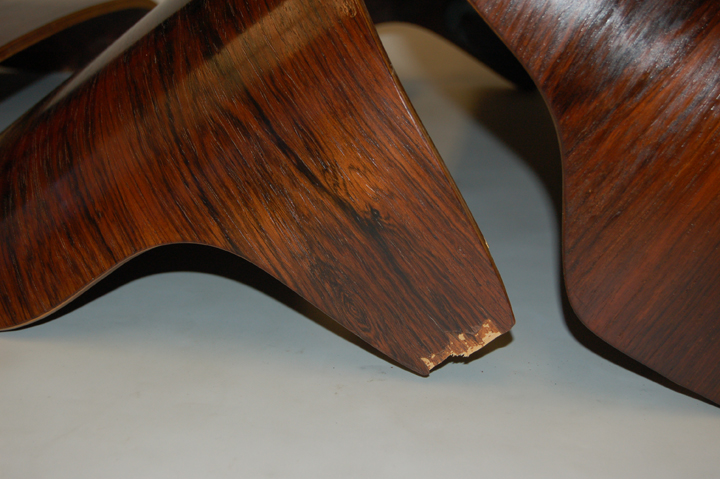
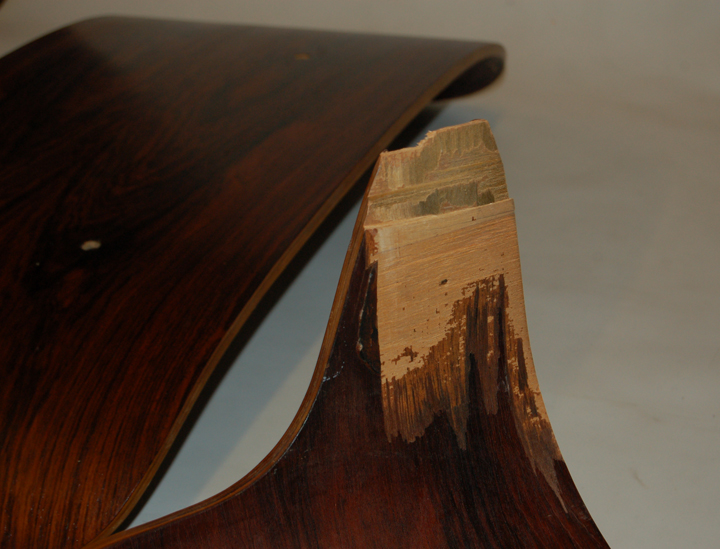
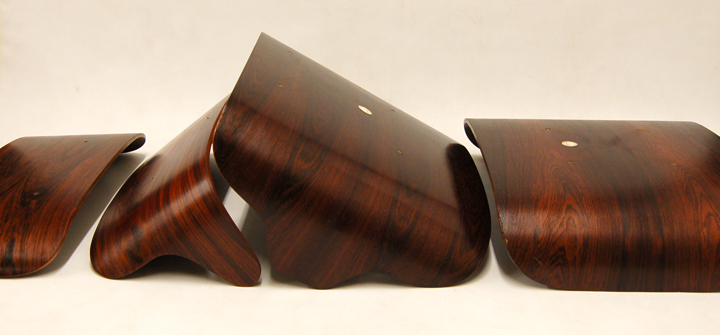
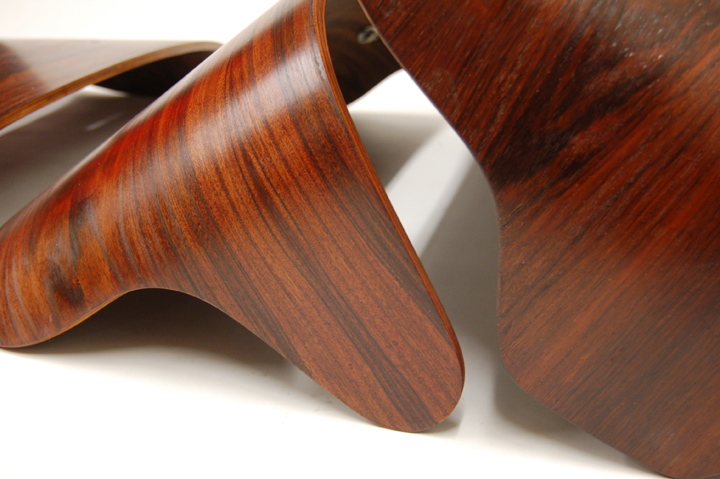
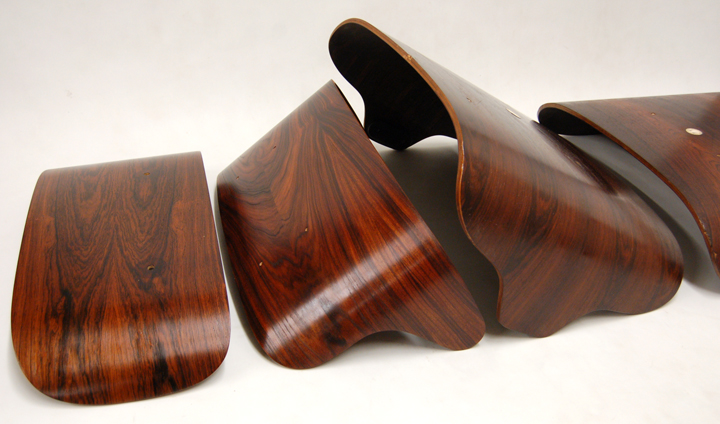
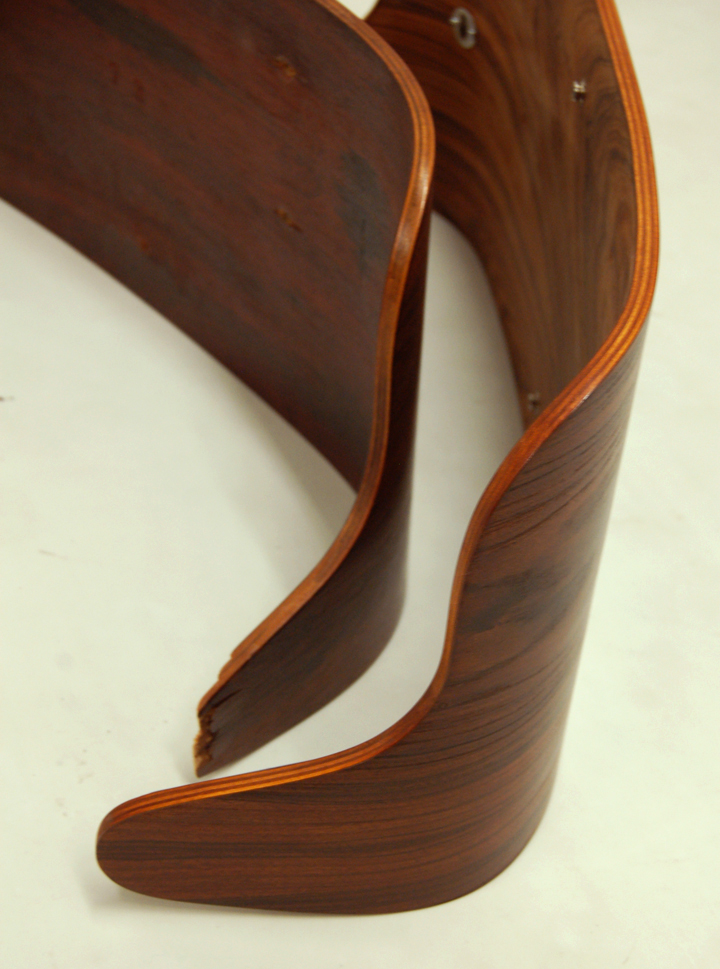
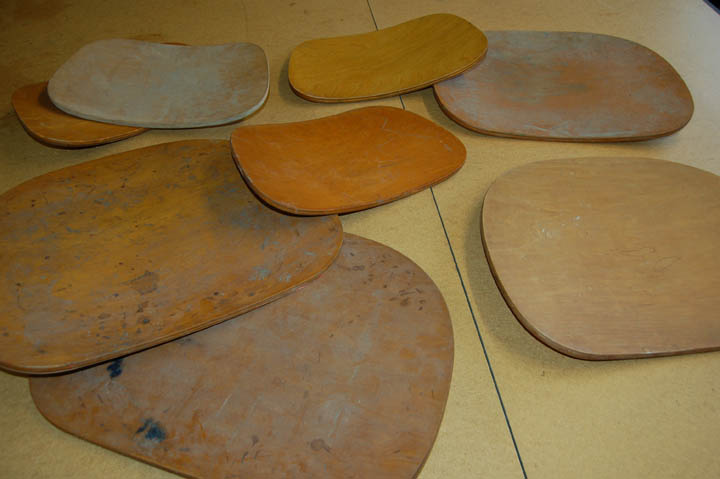
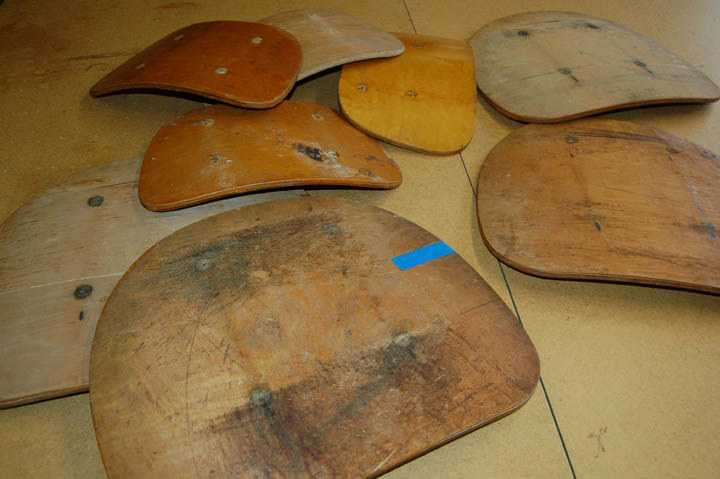
Bad break. Don’t fret, our panels will restore your chair back to perfection. We perfectly match color, grain, and finish. And we work with the highest quality rosewood veneers you can find. Notice that all of the details are perfect, right down to the plywood edge. Thanks for trusting us with your most precious pieces.
BEFORE…
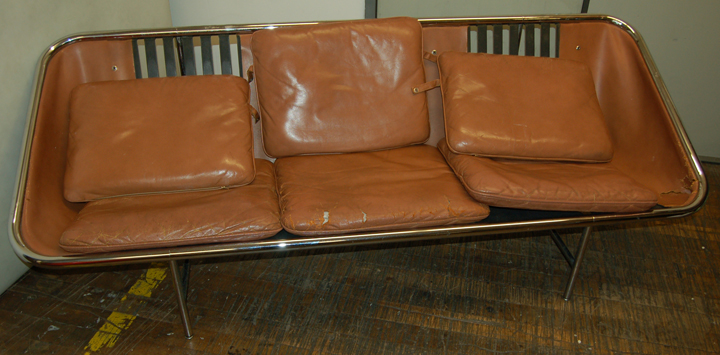
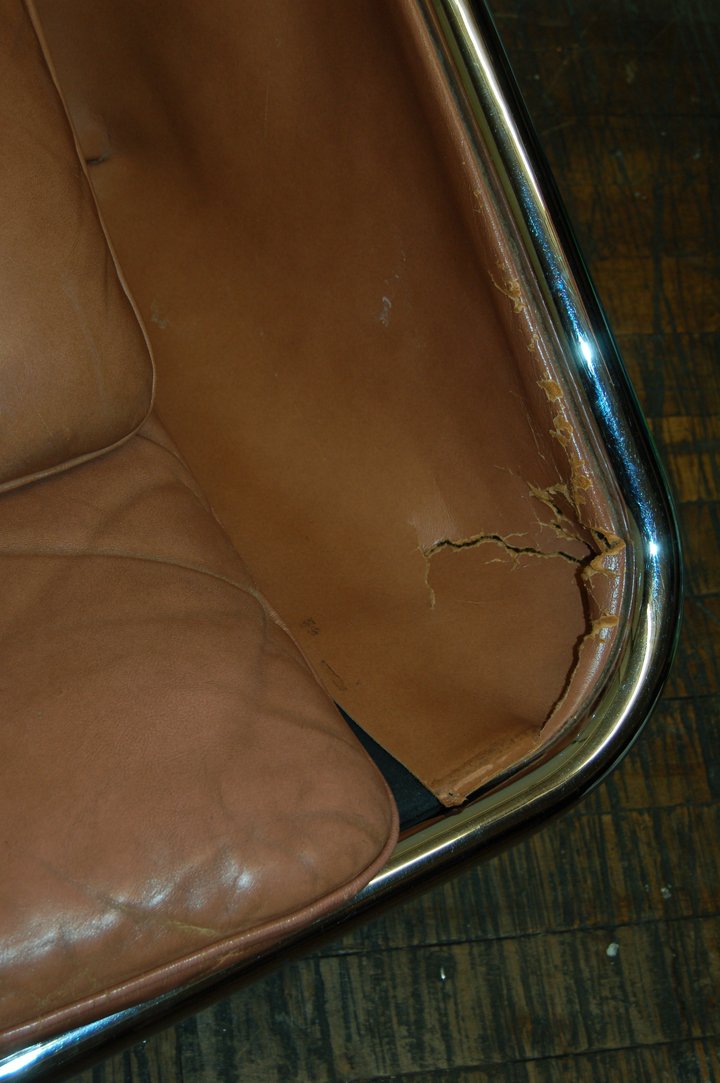
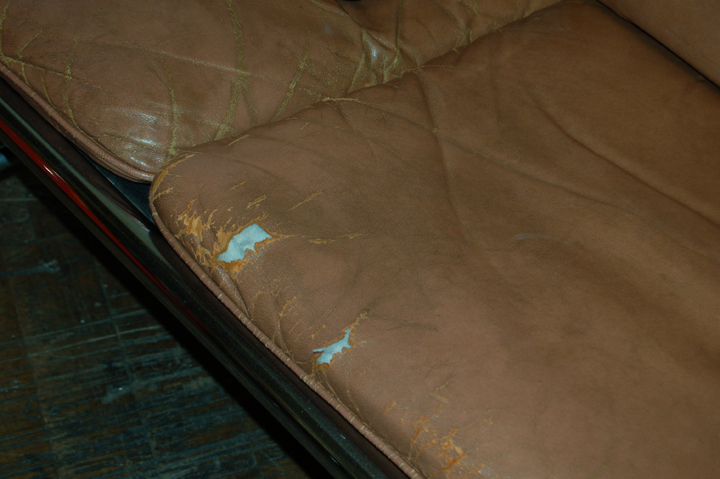
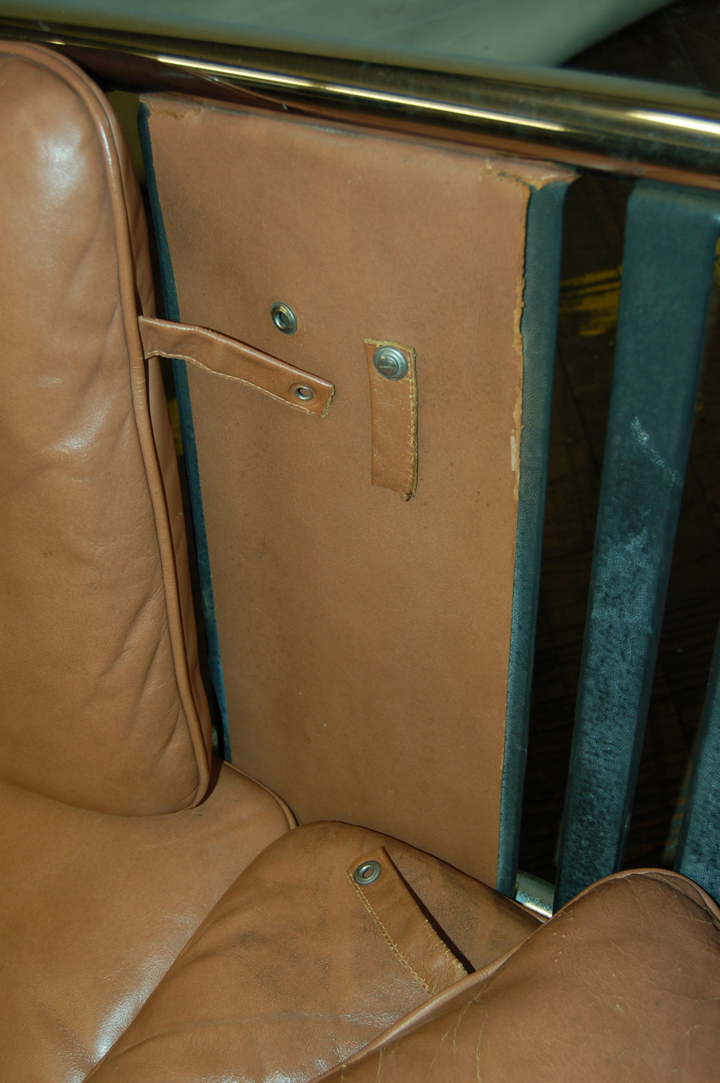
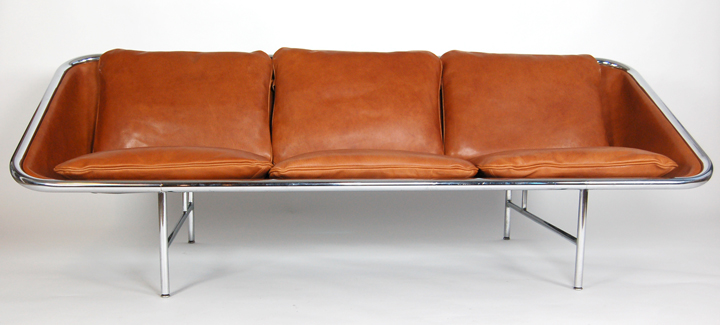
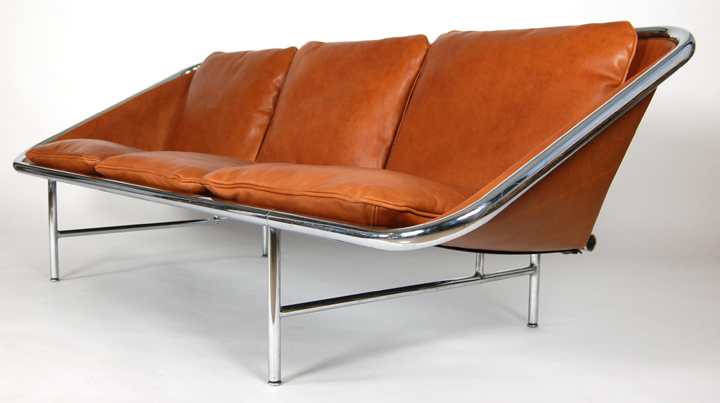
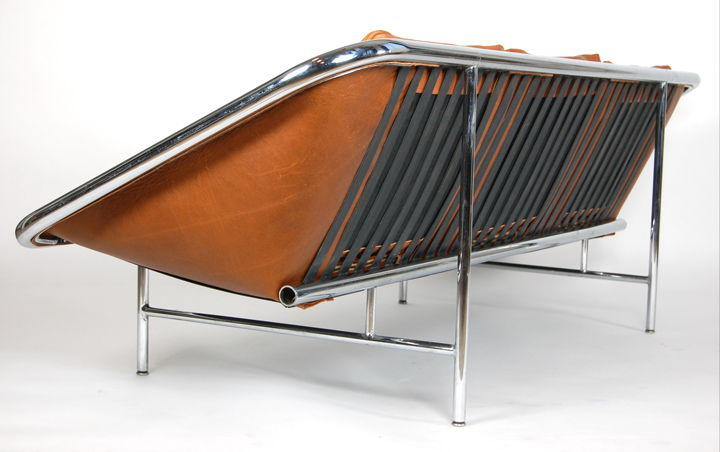
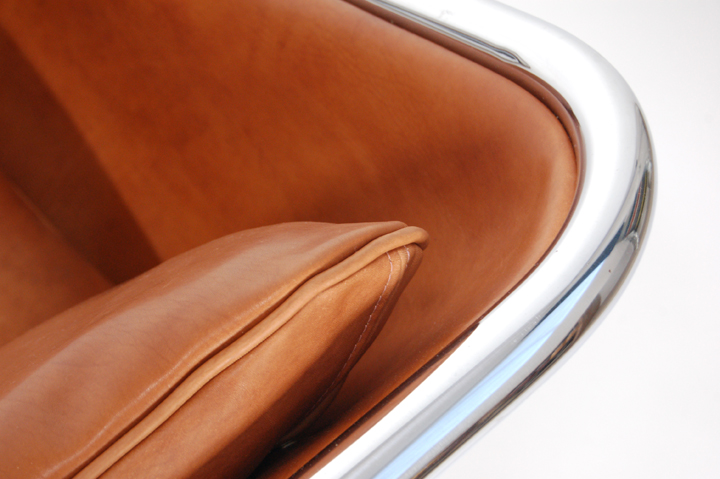
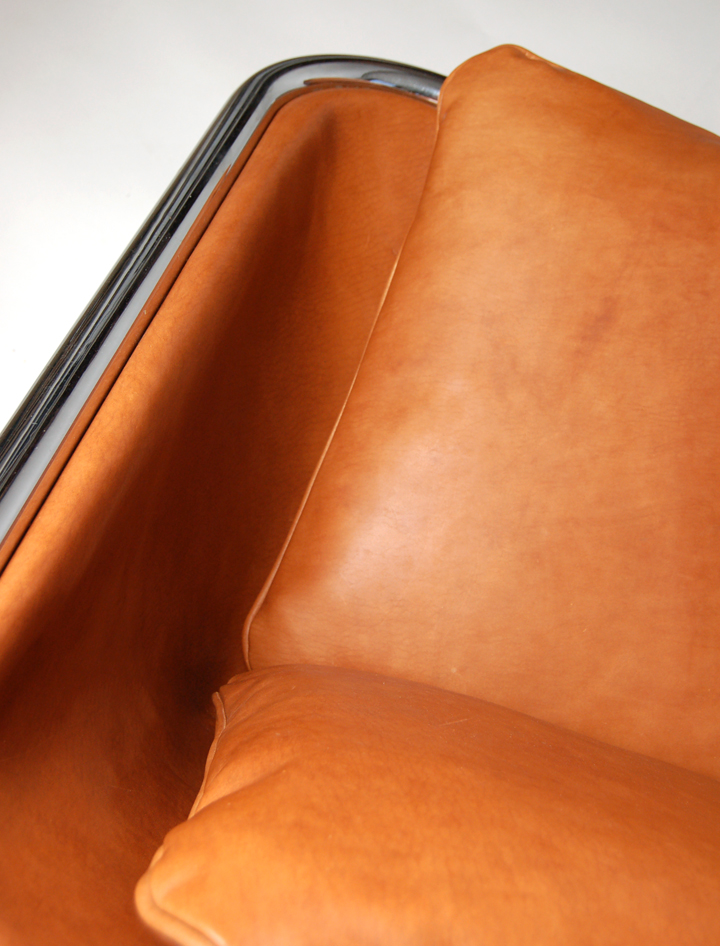
This restoration was a treat. This sling sofa came to us tattered and well loved. We restored it in suitcase grade buttery smooth Horoween leather, polished the chrome, and deep cleaned the rubber. The result is a gorgeous thing you just want to sit in a pet all day.
BEFORE…
Vintage knockoffs, not Eames, but pretty little gems worth restoring back to beautiful.
BEFORE…

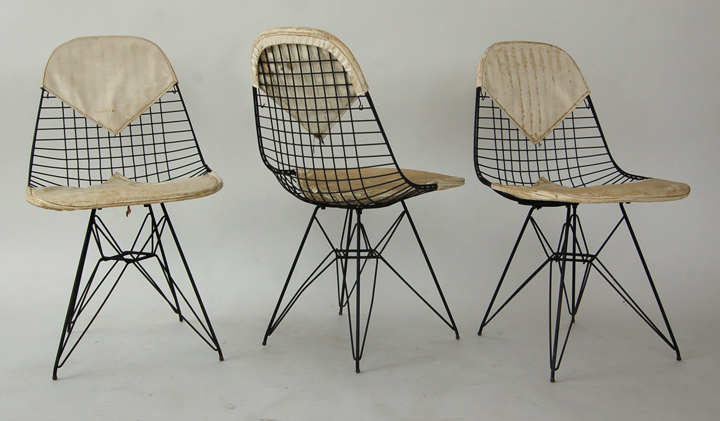
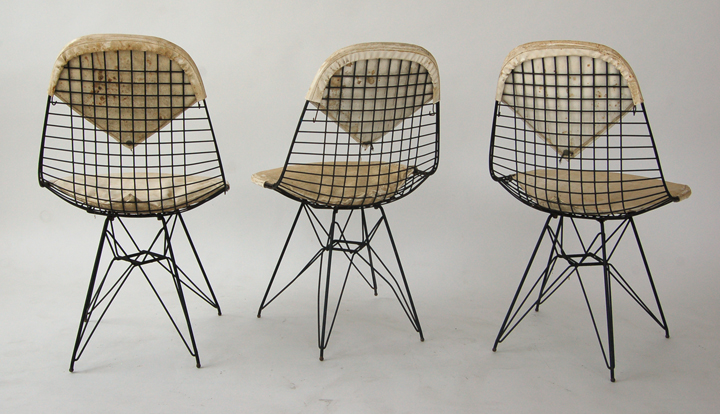
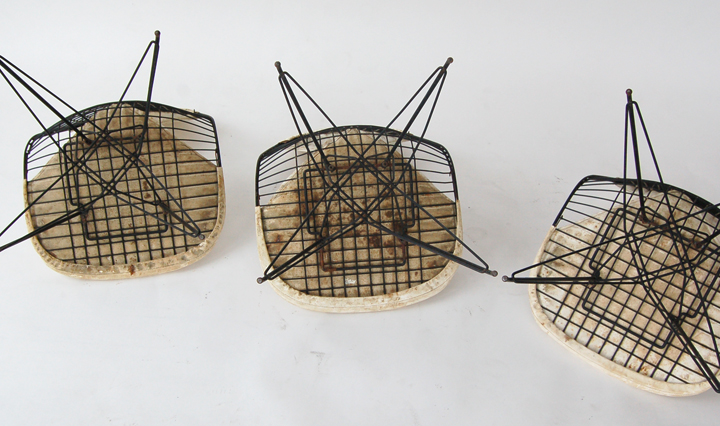
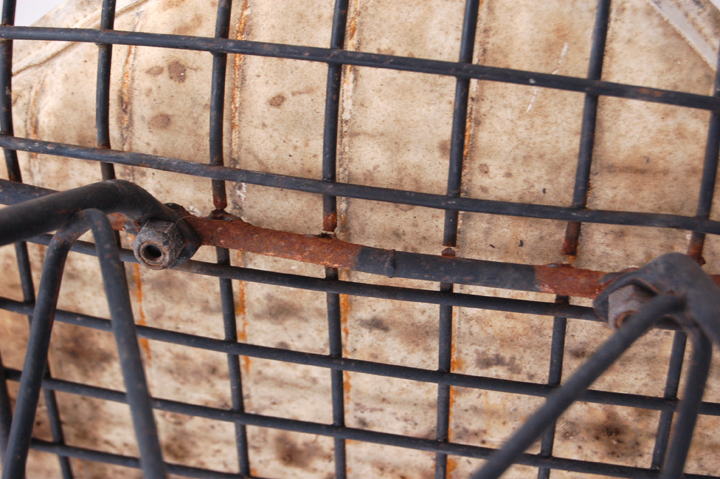
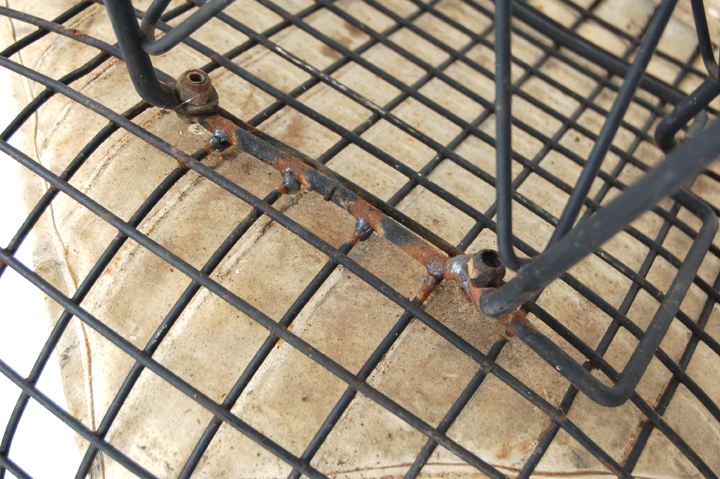
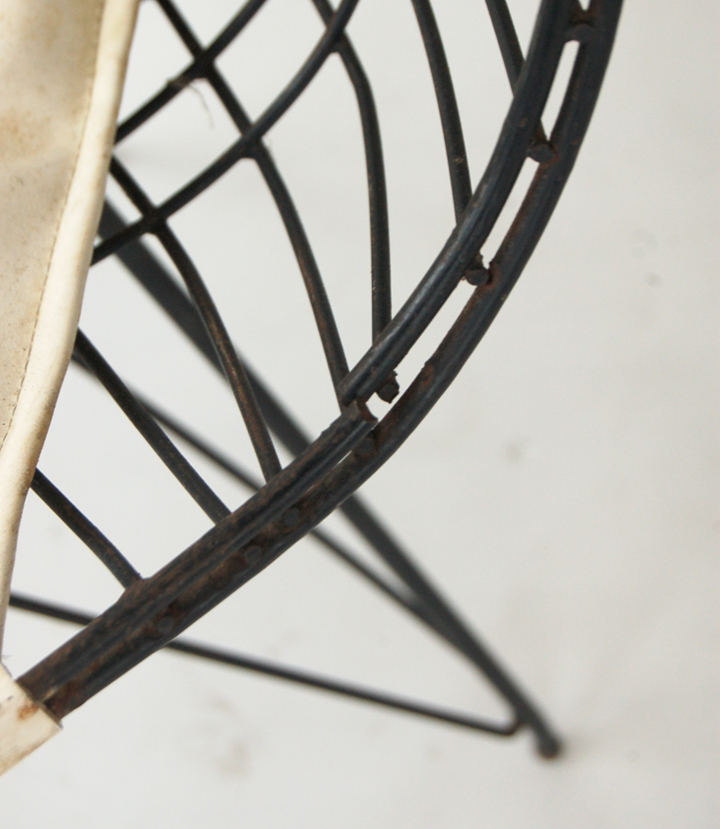
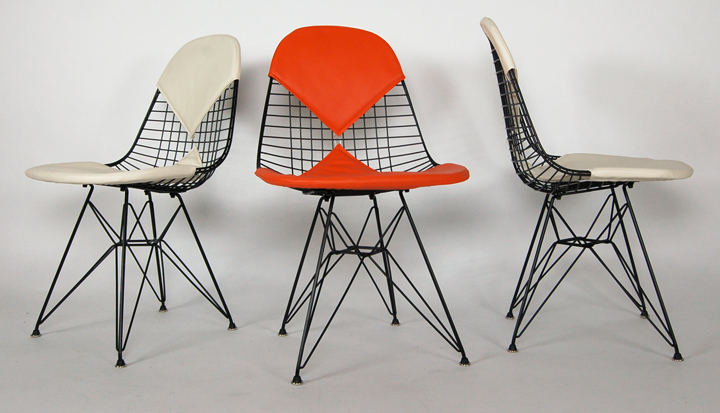
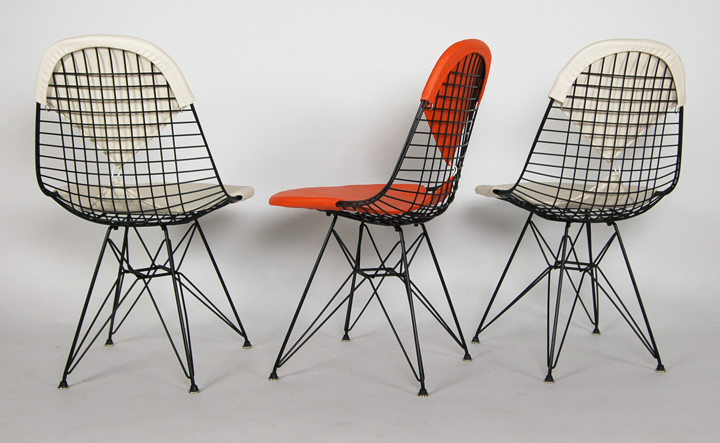
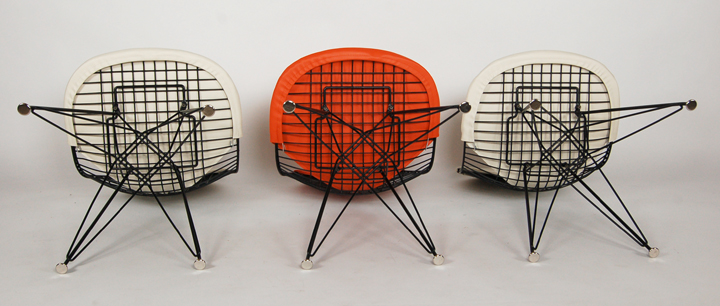
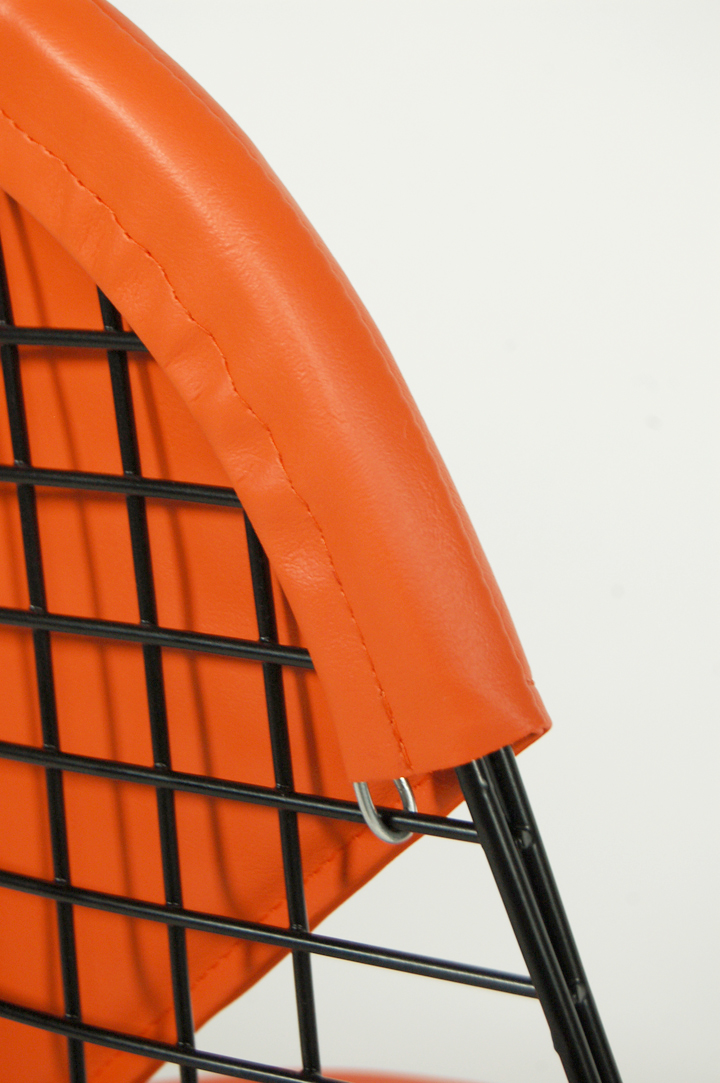
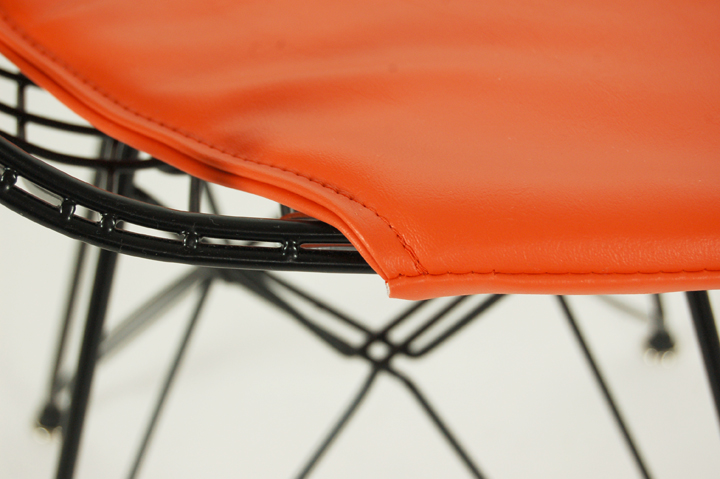
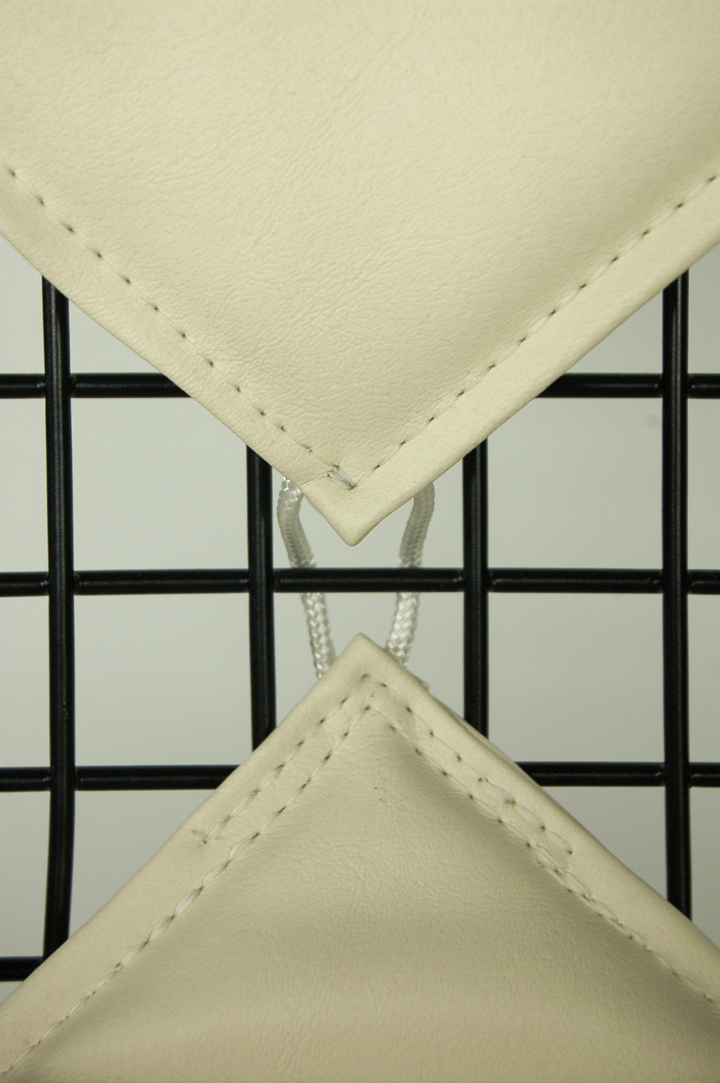
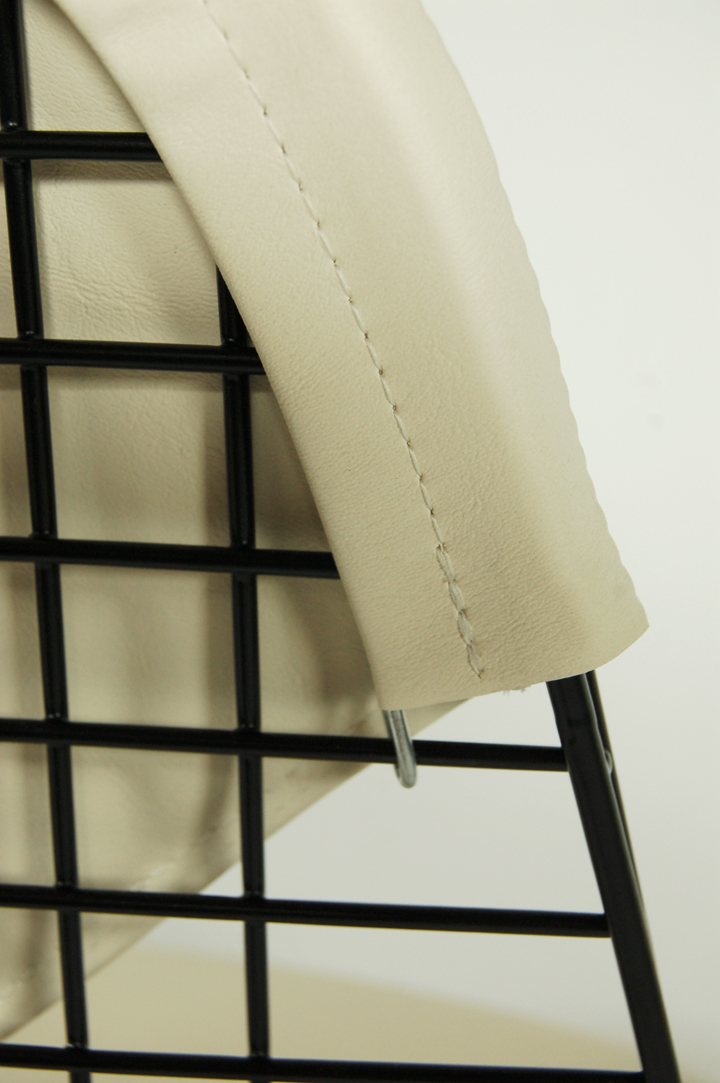
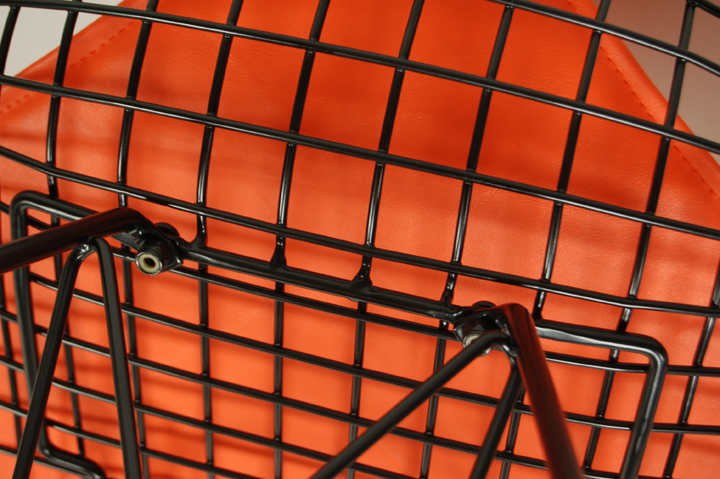
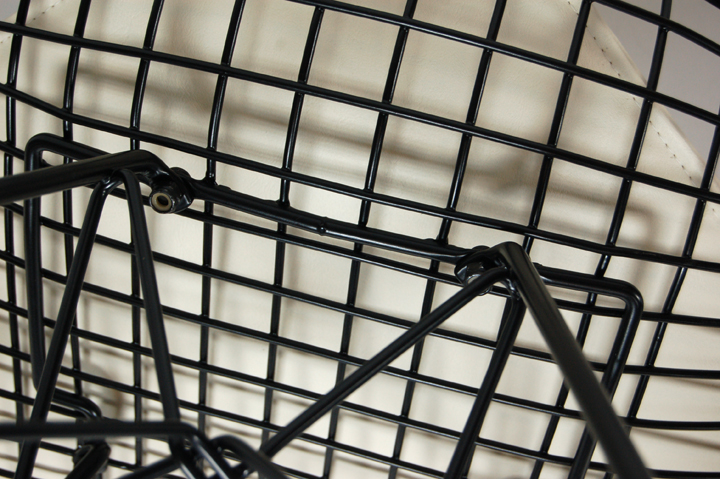
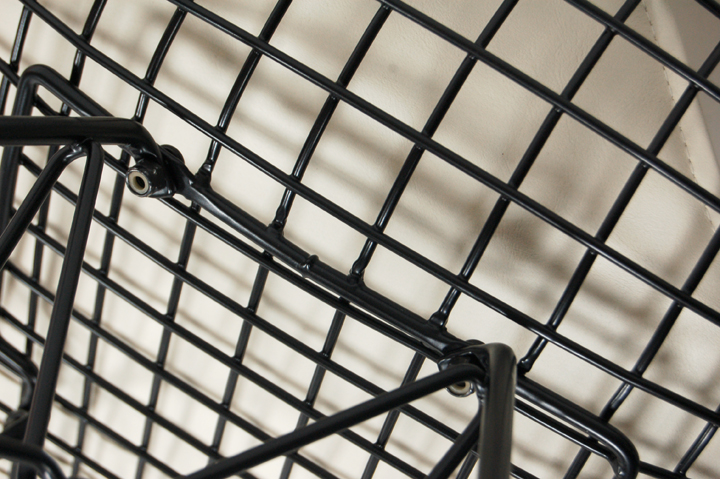
Three very sad wire chairs. Rust, broken wires, missing glides, messy old welds, screws and nuts rusted to frames…
We’ve given them a whole new life. Perfect welds, every broken wire repaired, aerospace grade powder coat, new glides, fabulous new Modern Conscience bikini pads.
Now it’s a truly lovely set.
BEFORE…
These easy-to-follow instructions apply to replacing your aged shockmounts on all of the Eames molded plywood furnishings, including the DCM, LCM, DCW, LCW, CTM, and CTW.
What you’ll need:
Modern Conscience Wood Shockmount Adhesive
Modern Conscience Shockmount Adhesive Activator
Modern Conscience Shockmounts
Sandpaper (80-grit or 100-grit)
Denatured or Rubbing Alcohol
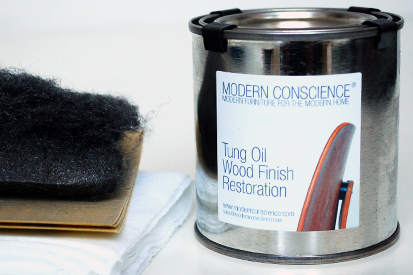
Modern Conscience Wood Finish Restoration Kit
You will find all of these parts on our website here.
1: Using sandpaper, remove all of the old epoxy.
Helpful Tip: Tape off areas around the mount where you want to protect the finish. It’s easy to accidentally drip or oversand. All of the original epoxy must be removed. A bond is only as strong as the weakest adhesive in there, so if you leave any of the old epoxy you’re providing an opportunity for failure of the bond.
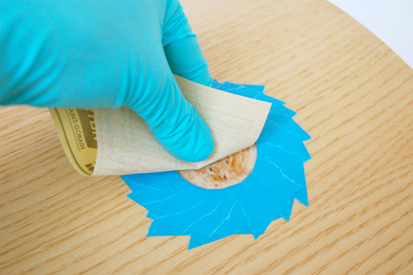
Modern Conscience Wood Shockmount Repair – Step 1
2: Use the chair frame to help you determine the exact location of the new shockmounts if the mounts you’re replacing don’t have obvious factory routed areas.
Helpful Tip: Use extra long screws in the frame. This will allow you to both move and carefully position the shockmount.
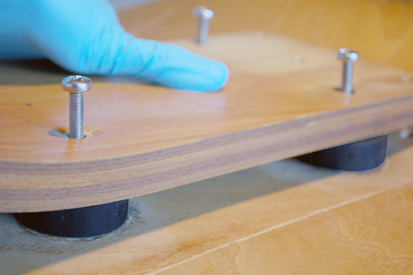
Modern Conscience Wood Shockmount Repair – Step 2
3: Clean the shockmount with denatured alcohol or rubbing alcohol using a lint-free cloth.
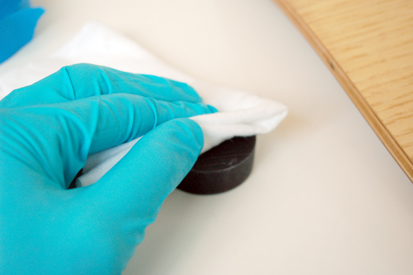
Modern Conscience Wood Shockmount Repair – Step 3
4: Clean the prepared wood surfaces with denatured alcohol or rubbing alcohol using a lint-free cloth.

Modern Conscience Wood Shockmount Repair – Step 4
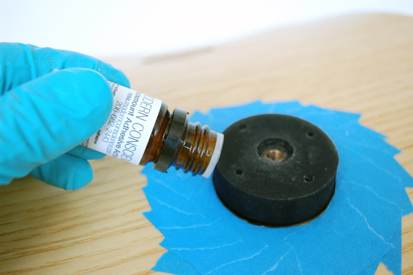
5: Apply Modern Conscience Wood Shockmount Adhesive to the shockmount.
Helpful tip: Your puddle of glue should extend to within 1/4″ (6mm) of the edge of the shockmount. You want enough glue that it will slightly press out from underneath the shockmount on the sides, leaving no air bubbles. You do not, however, want so much that adhesive flows out from under it and runs everywhere.
6: Gently place the shockmount. Hold the shockmount in place and use a few strategic drips of Modern Conscience Adhesive Activator to secure the shockmount during cure time.
Helpful Tip: Do not press hard, you will force the glue out from under the shockmount and create what is called a “starved” joint. The weight of the shockmount plus some gentle pressure is enough to allow the glue to evenly lick up around the edge of the mount.
Modern Conscience Wood Shockmount Repair – Step 6
7: Allow 48 hours for the adhesive to reach full cure strength.
Helpful Tip: After the adhesive has cured check your work. Make sure that the adhesive has a nice bead around the edge. Anywhere the edge of the shockmount is exposed is an opportunity for forces to concentrate and will ultimately lead to failure of the bond. If you find an exposed edge, or just for good measure, you can apply a final bead of adhesive around the perimeter of the shockmount, again using the activator to help control placement of the adhesive.
8: Restore the exposed sanded parts of the fiberglass with a Modern Conscience Gel Coat Restoration Kit.
Modern Conscience Wood Shockmount Repair – Step 7

Modern Conscience Wood Shockmount Repair – Step 7
9: Enjoy your newly restored chair. You’ve worked hard, you earned it!
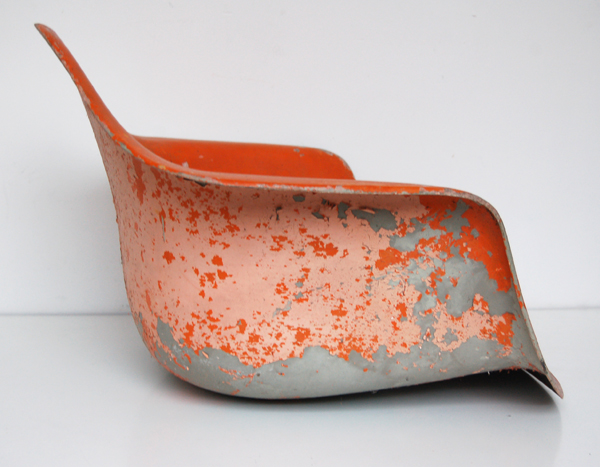
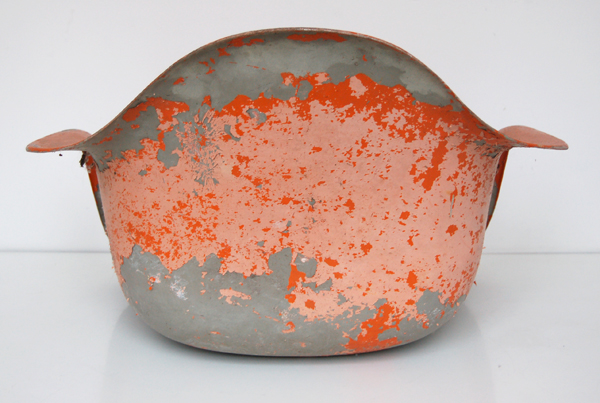
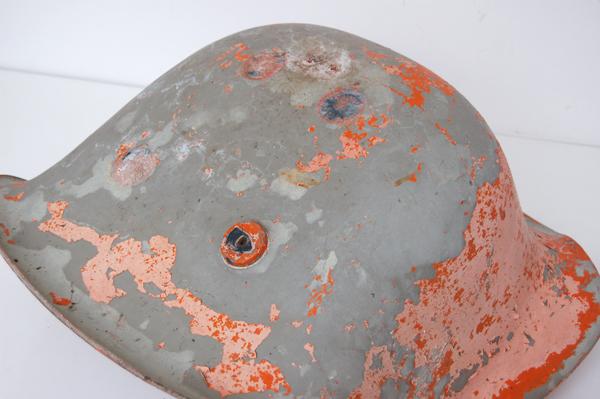
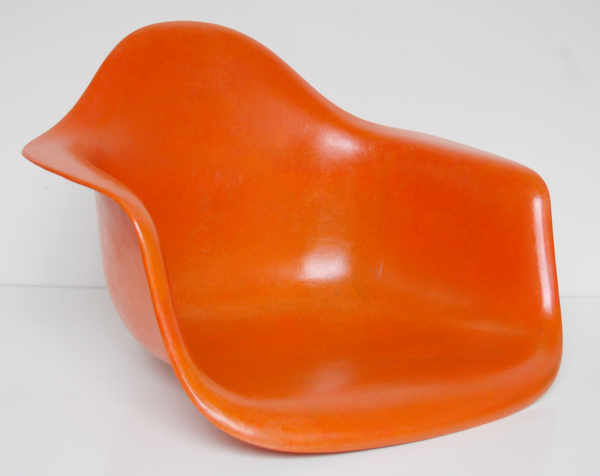
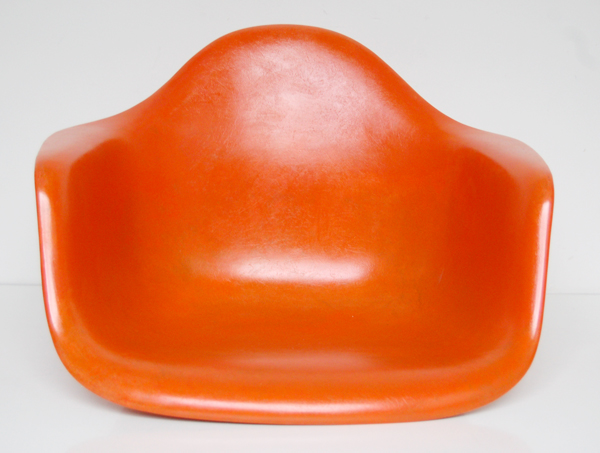
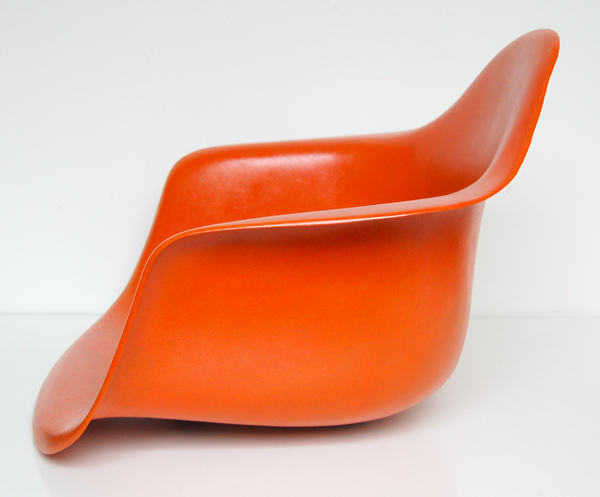
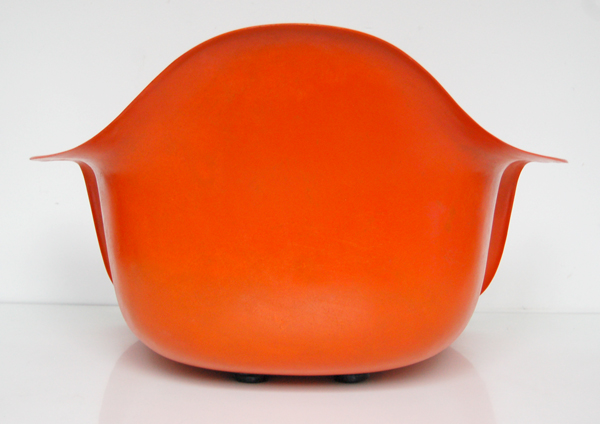
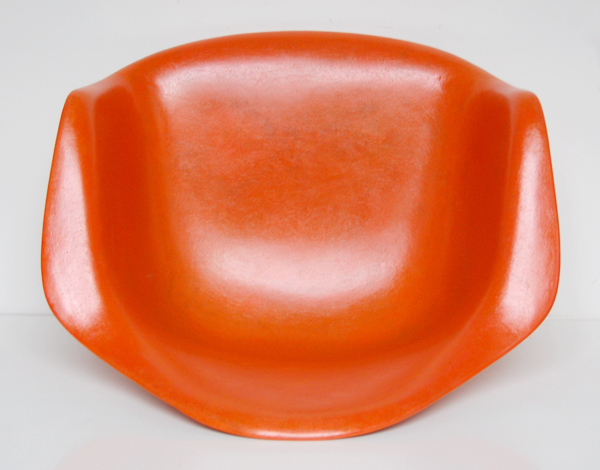
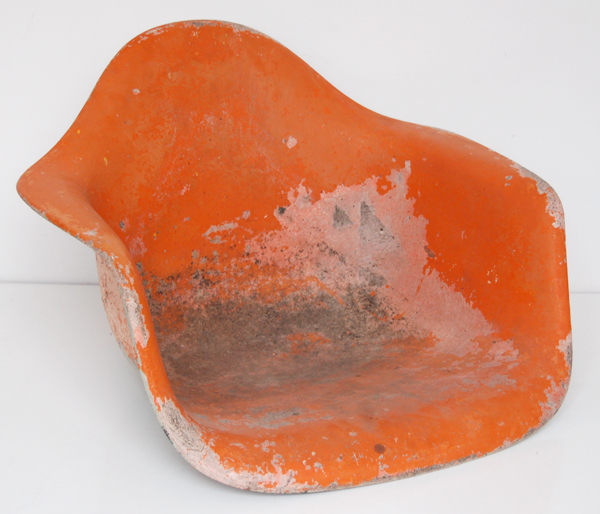
Our client found an orange armshell which had been assaulted with several layers of paint and then left outdoors to deteriorate for years. We removed the paint, reconditioned the fiberglass, and restored the gel coat. Another chair saved from the landfill!
BEFORE…
 n]
n]