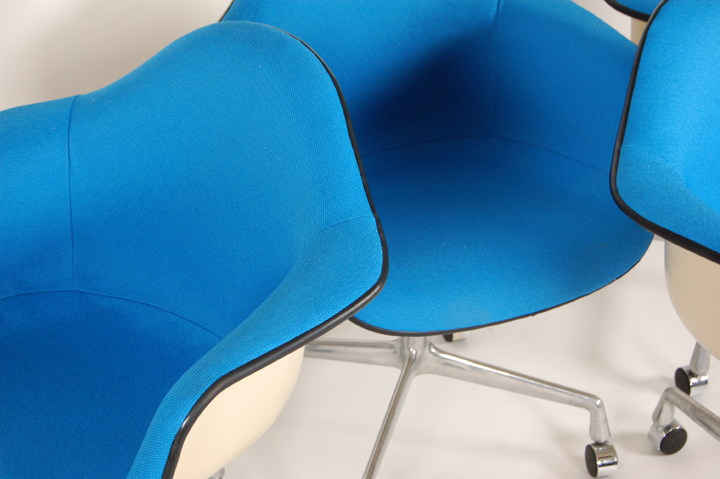
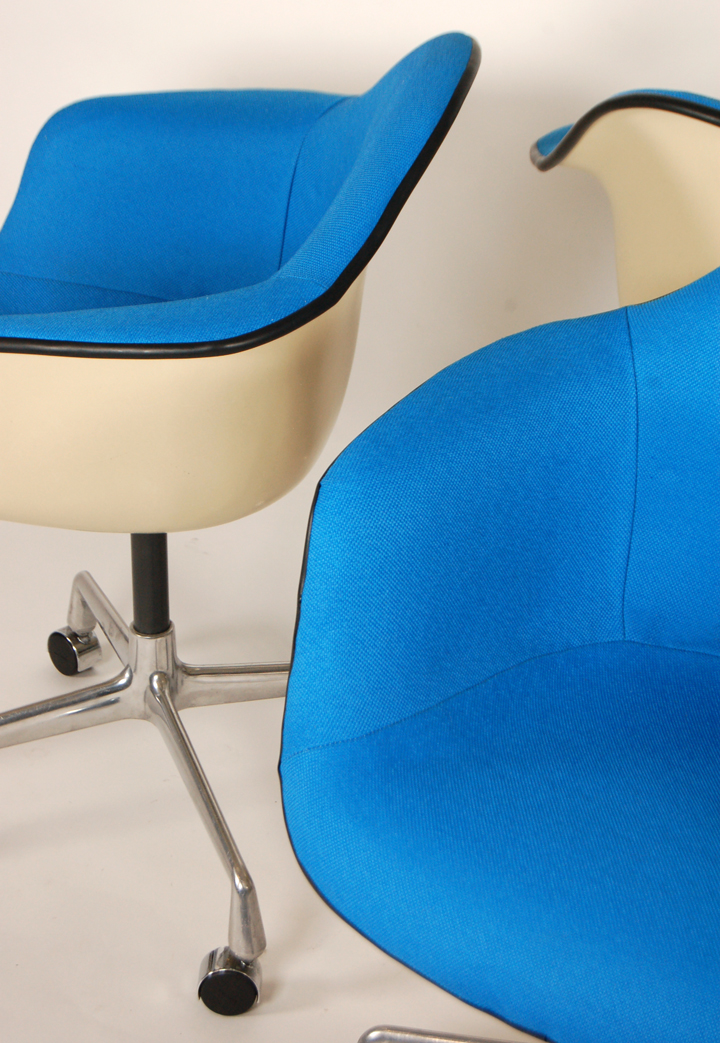
These easy-to-follow instructions apply to replacing your aged narrow mount shockmounts, as well as converting from the wide to the more versatile narrow mount configuration.
What you’ll need:
Modern Conscience Fiberglass Shockmount Adhesive
Modern Conscience Shockmount Adhesive Activator
Modern Conscience Shockmounts
Sandpaper (80-grit or 100-grit)
Denatured or Rubbing Alcohol
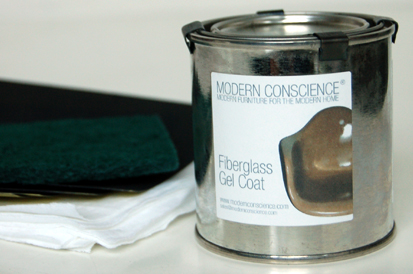
Modern Conscience Gel Coat Restoration Kit
You will find all of these parts on our website here.
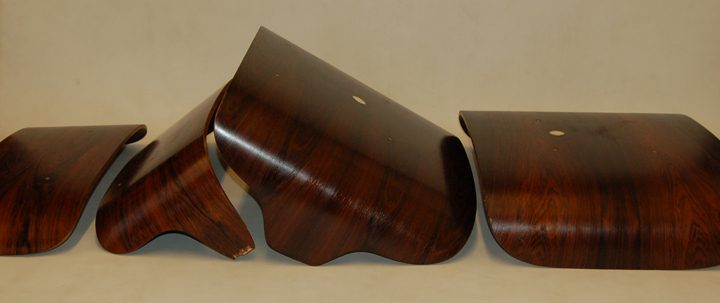
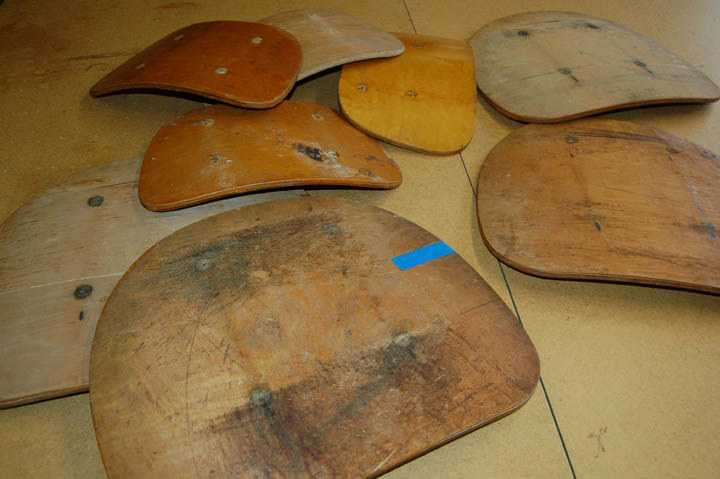
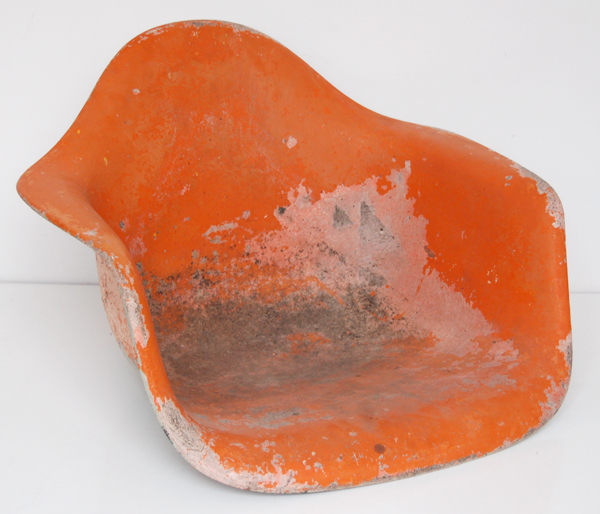
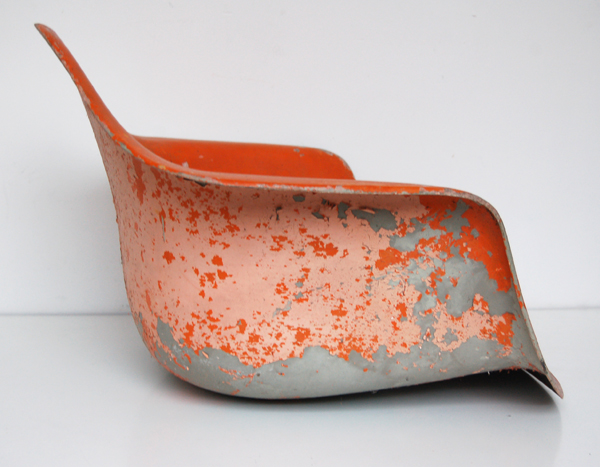
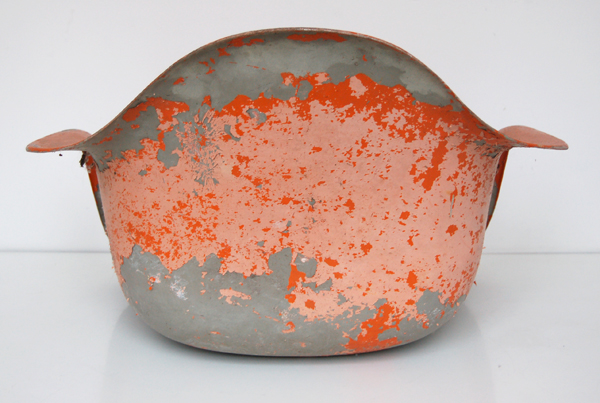
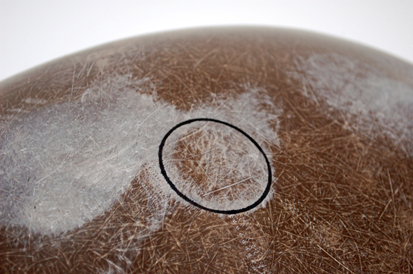
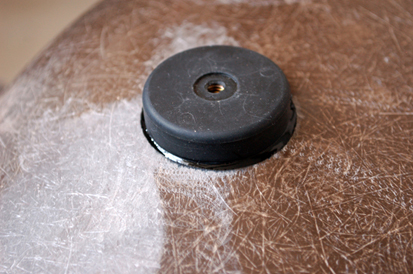
1: Using sandpaper, remove all of the old epoxy.
Helpful Tip: All of the original epoxy must be removed. A bond is only as strong as the weakest adhesive in there, so if you leave any of the old epoxy you’re providing an opportunity for failure of the bond.

Modern Conscience Fiberglass Shockmount Repair – Step 1
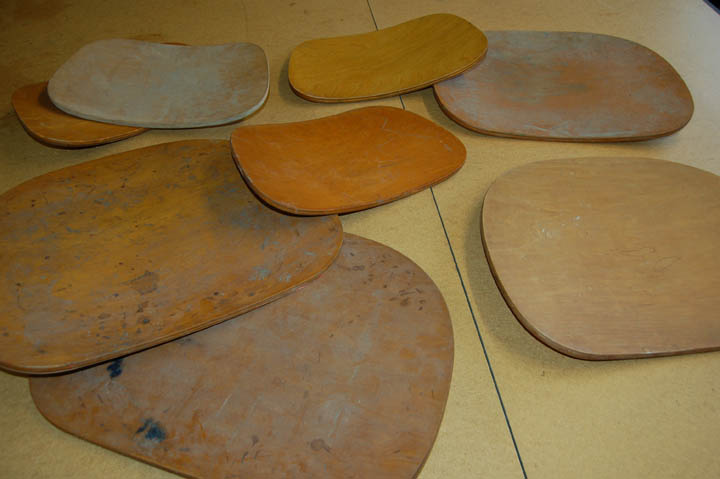
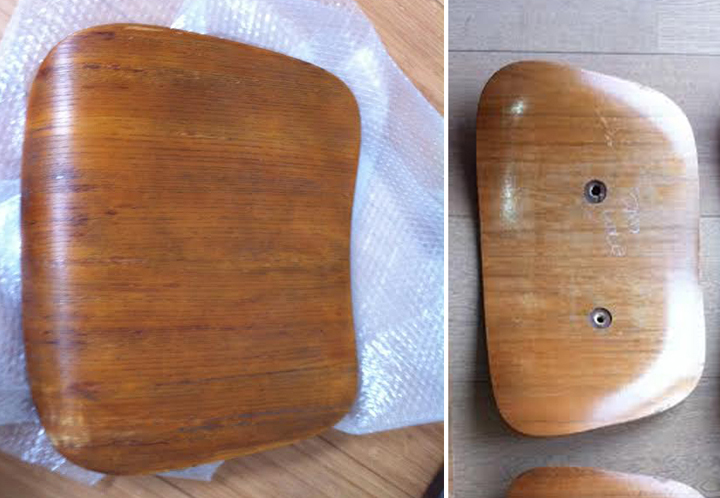
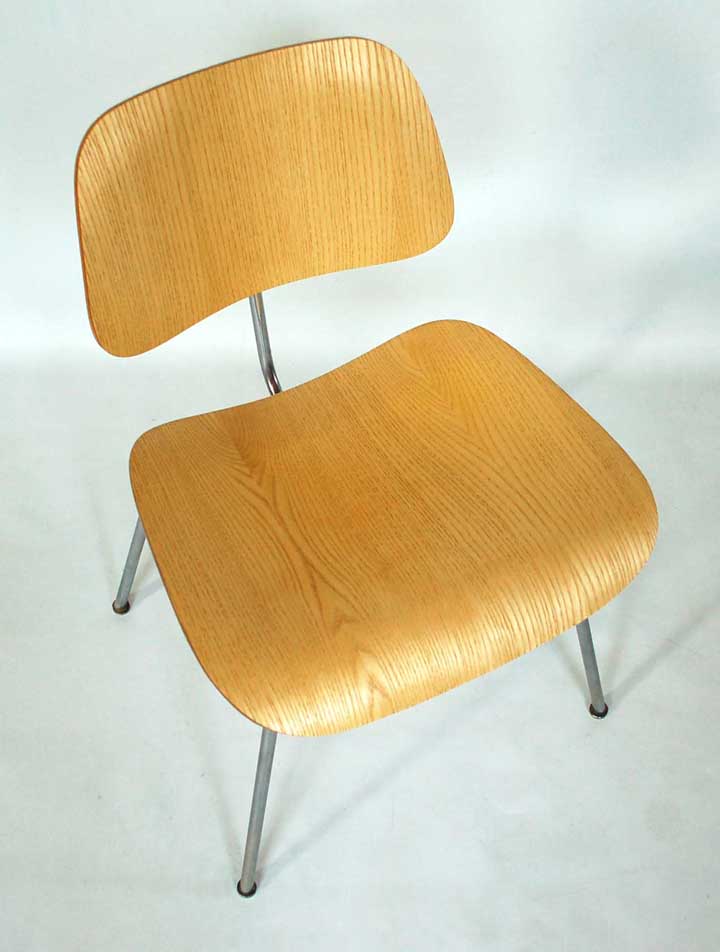
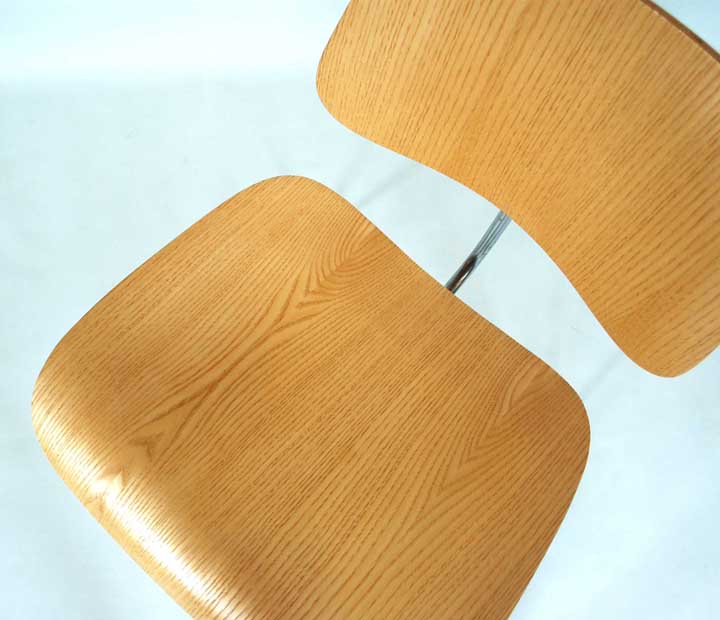
2: Use a base and the shockmount “bumps” on the shell to help you determine the exact location of the new shockmounts.
Helpful Tip: Don’t overly tighten the shockmount to the base, leave the screw a little loose so that you can flatten the mounts against the shell in their correct position.

Modern Conscience Fiberglass Shockmount Repair – Step 2
3: Trace the shockmount locations with a marker.
Modern Conscience Fiberglass Shockmount Repair – Step 3
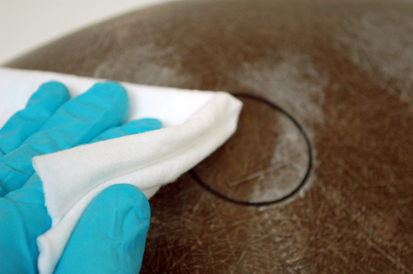
4: Clean the prepared fiberglass with denatured alcohol or rubbing alcohol using a lint-free cloth.
Modern Conscience Fiberglass Shockmount Repair – Step 4
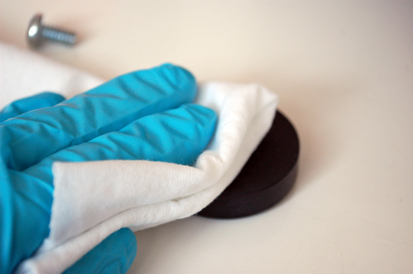
5: Clean the new shockmount with denatured alcohol or rubbing alcohol using a lint-free cloth.
Modern Conscience Fiberglass Shockmount Repair – Step 5
6: Apply Modern Conscience Fiberglass Shockmount Adhesive to the shockmount.
Helpful tip: Your puddle of glue should extend to within 1/4″ (6mm) of the edge of the shockmount. You want enough glue that it will slightly press out from underneath the shockmount on the sides, leaving no air bubbles. You do not, however, want so much that adhesive flows out from under it and runs everywhere.
7: Gently place the shockmount.
Helpful Tip: Do not press hard, you will force the glue out from under the shockmount and create what is called a “starved” joint. The weight of the shockmount plus some gentle pressure is enough to allow the glue to evenly lick up around the edge of the mount.
Modern Conscience Fiberglass Shockmount Repair – Step 7
8: Hold the shockmount in place and use a few strategic drips of Modern Conscience Adhesive Activator to secure the shockmount during cure time.
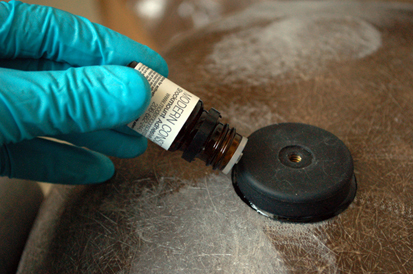
Modern Conscience Fiberglass Shockmount Repair – Step 8
9: Allow 48 hours for the adhesive to reach full cure strength.
Helpful Tip: After the adhesive has cured check your work. Make sure that the adhesive has a nice bead around the edge. Anywhere the edge of the shockmount is exposed is an opportunity for forces to concentrate and will ultimately lead to failure of the bond. If you find an exposed edge, or just for good measure, you can apply a final bead of adhesive around the perimeter of the shockmount, again using the activator to help control placement of the adhesive.
10: Restore the exposed sanded parts of the fiberglass with a Modern Conscience Gel Coat Restoration Kit.
Modern Conscience Fiberglass Shockmount Repair – Step 10
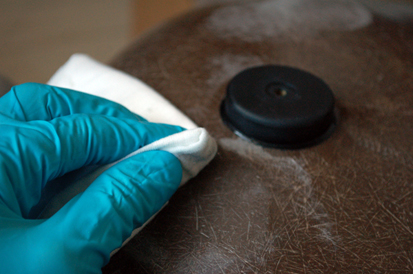
Modern Conscience Fiberglass Shockmount Repair – Step 10
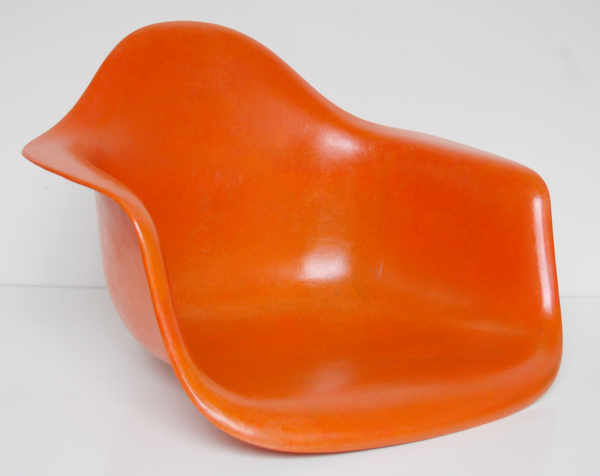
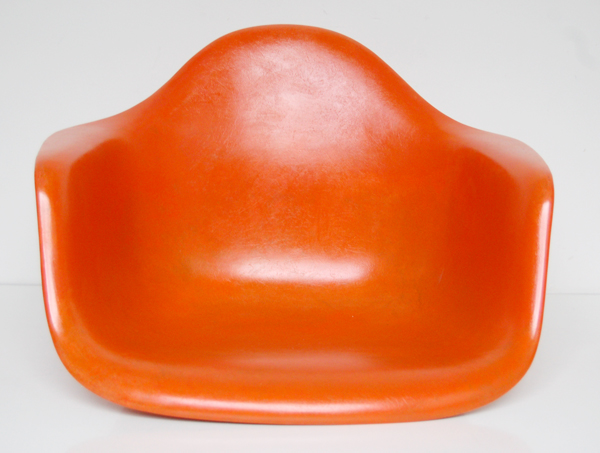
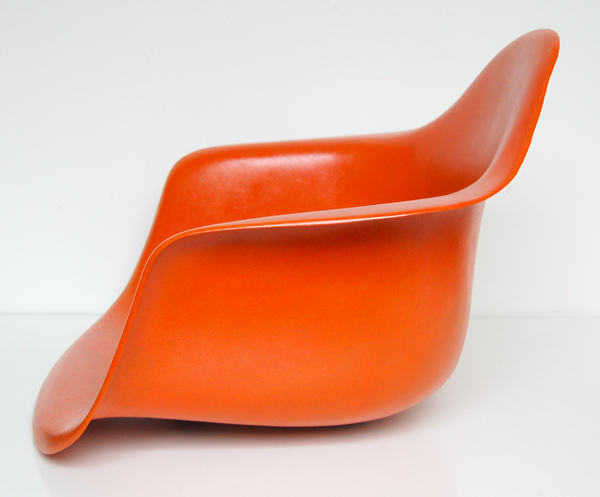
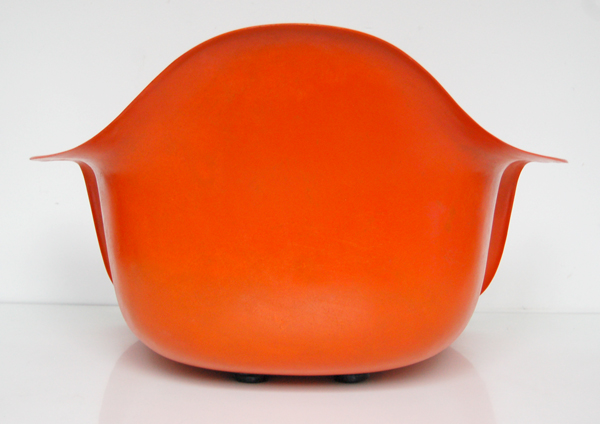
11: Enjoy your newly restored chair. You’ve worked hard, you earned it!