Product testing is a part of our routine. Epoxy, adhesive, rubber, and plastics technologies are literally advancing every day. To keep up with those advancements we routinely test a variety of consumer and commercial grade adhesives against what we’re currently using to make sure that we’re using the best.
For this test we tested the following consumer grade epoxies along with our current epoxy and some prospective new adhesives we have been considering. For obvious proprietary reasons we won’t divulge the source of the epoxies and adhesives we use in house (we do offer those on our website), but we will tell you a lot about what we learned about the products you can find at your local hardware store and how those compare to Modern Conscience products.
Epoxies and Adhesives Tested:
1: Loctite Plastic Epxoy (amber/clear)
2: Loctite Marine Epoxy (white)
3: Devcon Plastic Welder (cream)
4: Devcon 5-Minute Epoxy Gel (cream)
5: PC-11 Marine Epoxy (white)
6: Loctite Quick-Set Epoxy (cream)
7: Loctite Heavy Duty Epoxy (amber)
8: JB Weld (gray)
9: Loctite Super Glue Gel (clear)
10: Modern Conscience Current Epoxy
11: Modern Conscience Prospective Adhesive #1
12: Modern Conscience Prospective Adhesive #2
13: Modern Conscience Prospective Adhesive #3
14: Modern Conscience Prospective Adhesive #4
Testing Methods:
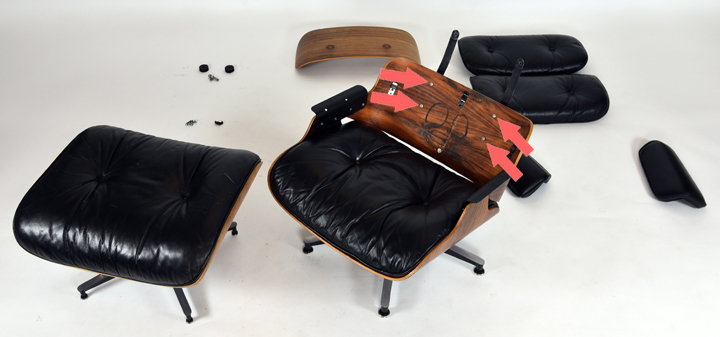
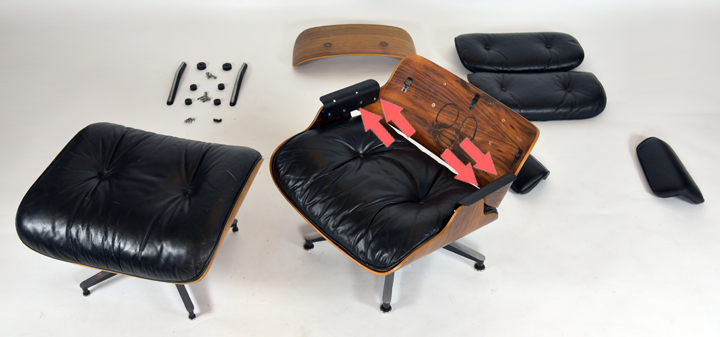
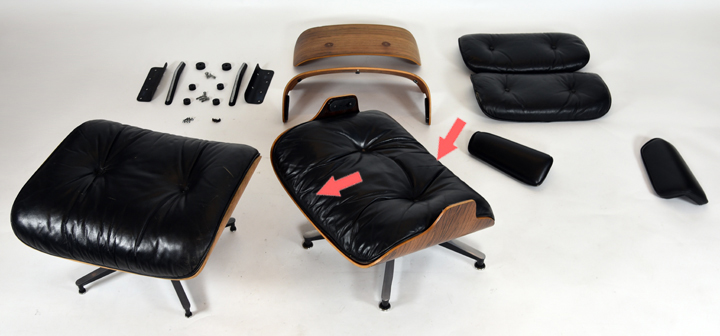
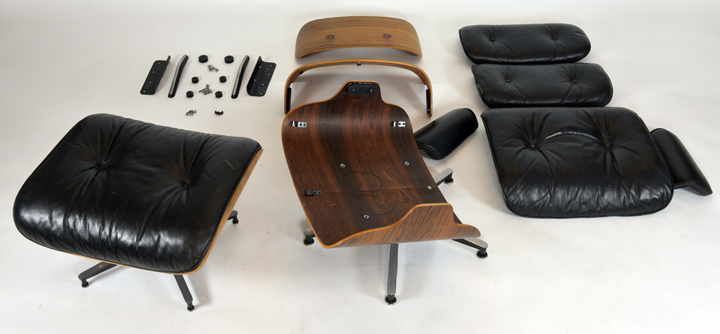
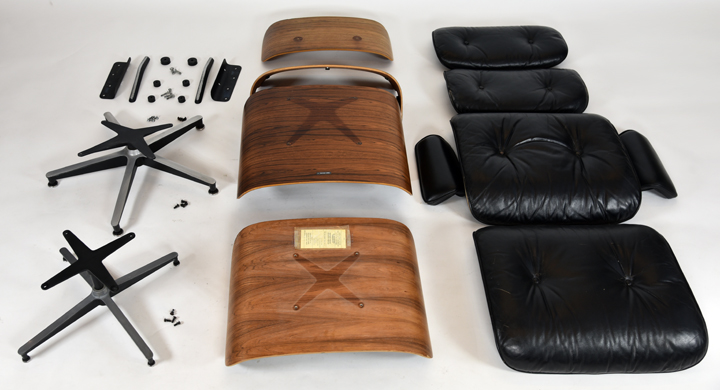
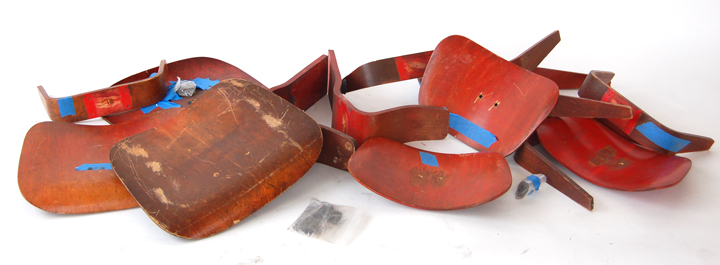
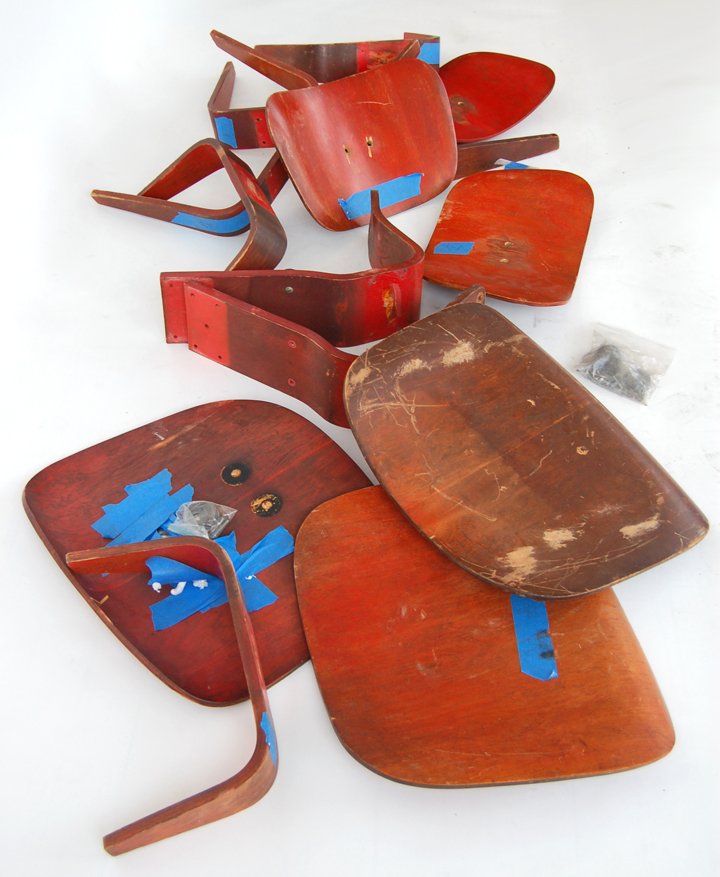
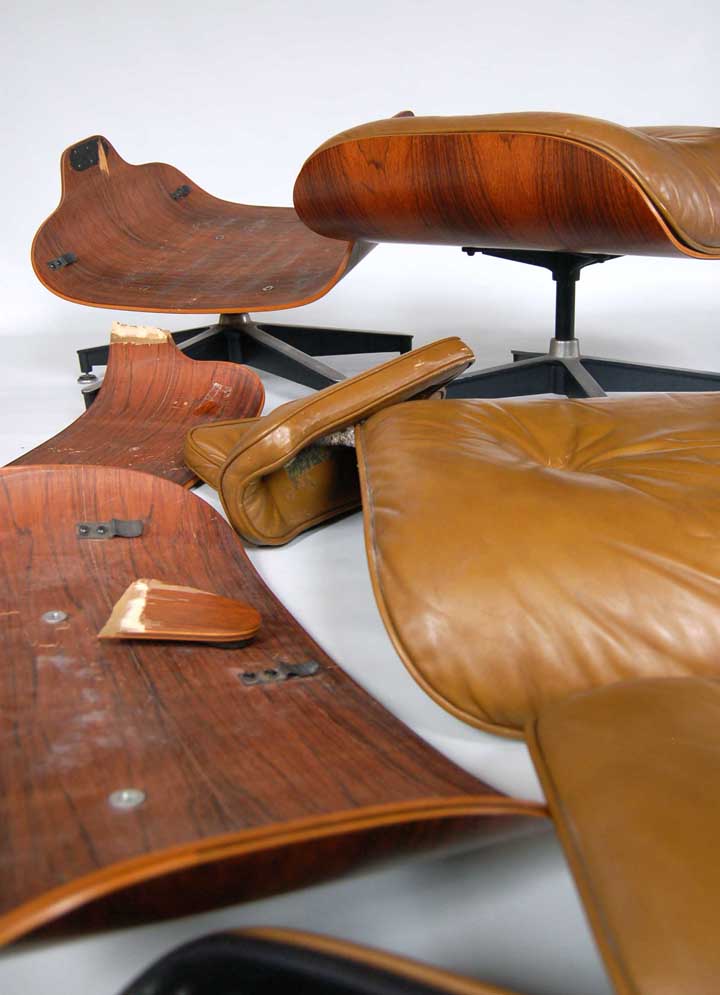
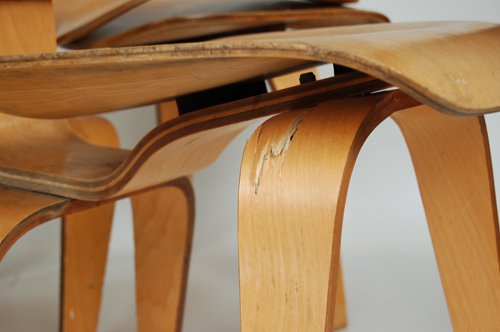
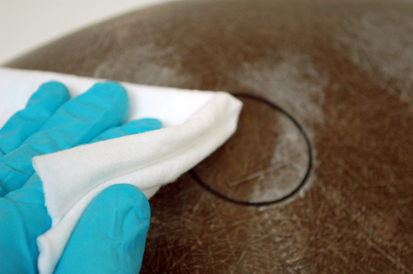
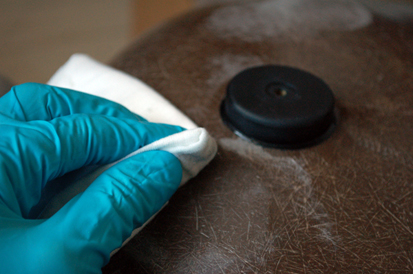
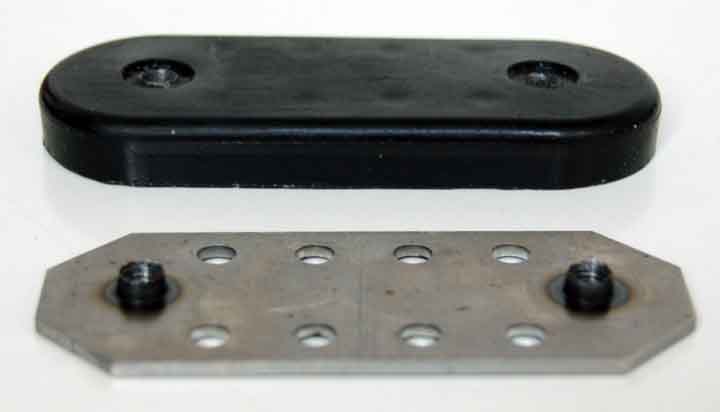
We are obviously interested in sourcing products which perform well on both fiberglass and wood so we tested all of the products in both scenarios. We have a seafoam fiberglass shell that came to us irreparable with a rip that has nearly divided it in two. This seat is always the victim in these experiments.
We are also interested in how the epoxies perform with a variety of rubbers so we compare tests with urethane, neoprene, and a proprietary tpe. Again, we’re looking for products that perform best across a broad spectrum
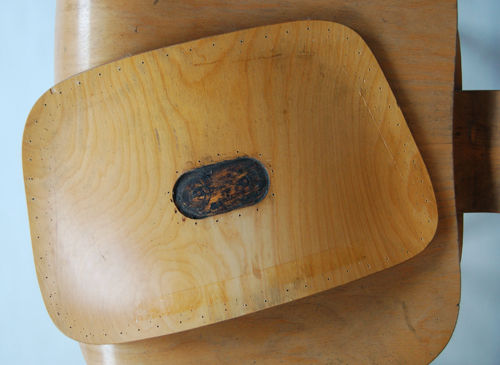
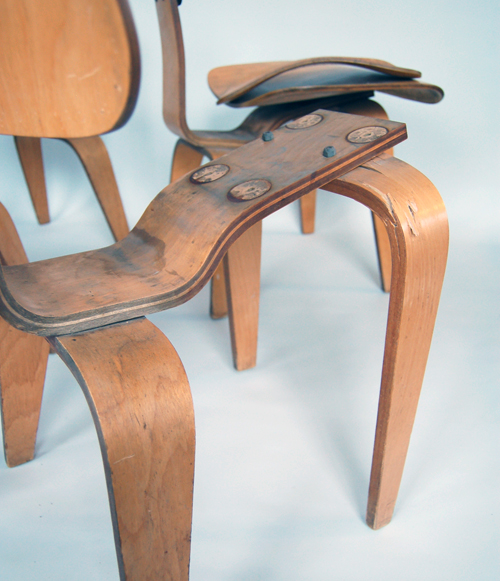
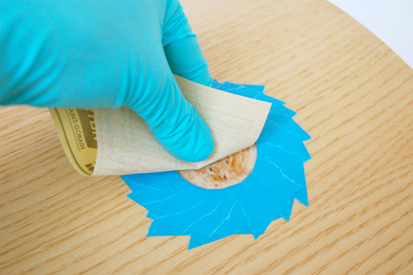
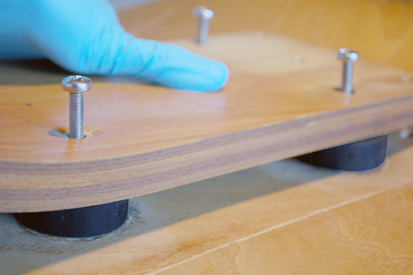
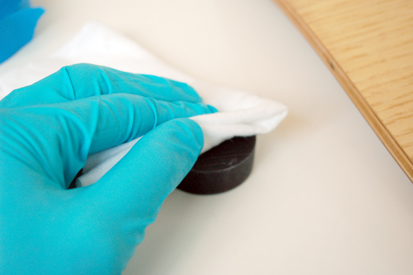
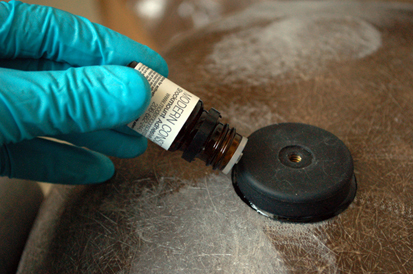
Each epoxy or adhesive was applied using the manufacturers directions. Cure time was extended beyond the manufacturer’s recommendations by an additional 24 hours for each product, for good measure. Then each mount was pried off using a torque bar to measure the torque required to remove each one. We performed this test three times on each fiberglass and wood for each product to account for any possible mistakes made in the gluing process.
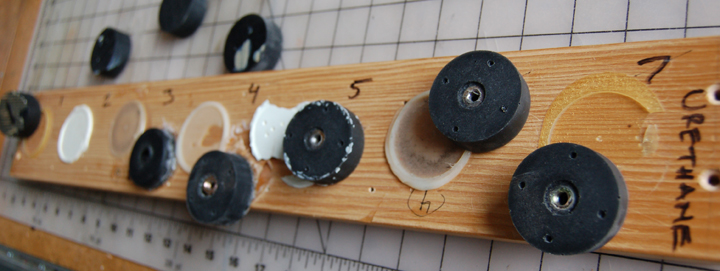
Consumer Grade Epoxy Tests
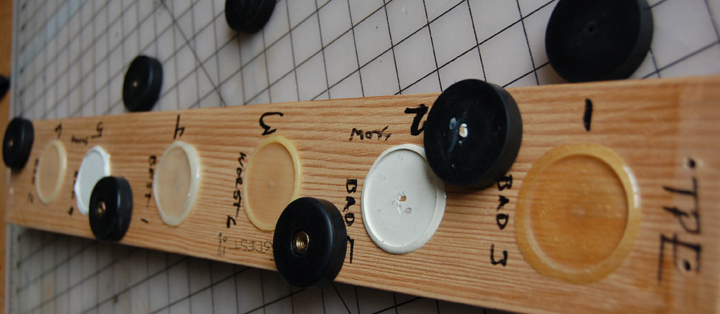
Consumer Grade Epoxy Tests
How they Compared:
We grouped the results into four categories. We decided to call these categories horrible, bad, okay, and best because none of the consumer grade products performed as well as the current or prospective Modern Conscience products.
Horrible: Loctite Marine Epoxy, Devcon Plastic Welder, PC-11 Marine Epoxy, Loctite Quick-Set Epoxy
Bad: Devcon 5-Minute Epoxy Gel, Loctite Plastic Epoxy
Okay: Loctite Heavy Duty Epoxy, JB Weld, Loctite Super Glue Gel (good hold, but very, very brittle bond)
Best: Modern Conscience Current Epoxy, Modern Conscience Prospective Adhesives 1-4
What this Means:
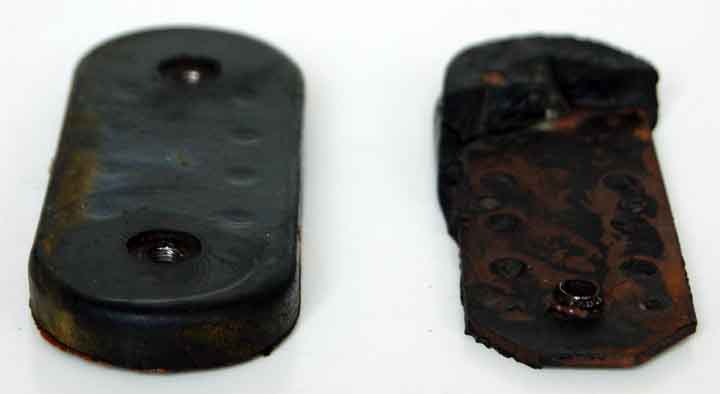
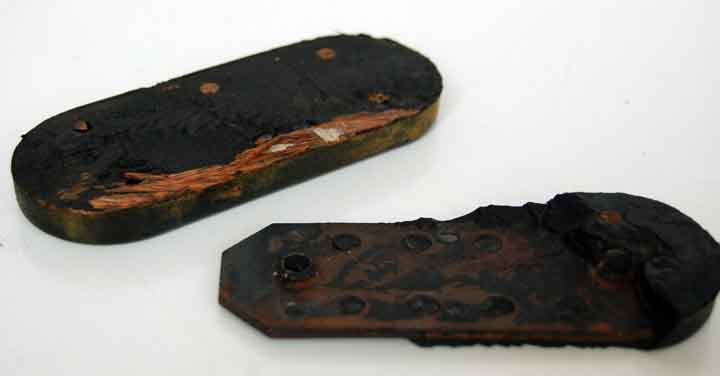
Horrible epoxies and adhesives were those that had such little holding power you could almost pry them off with your fingers. The epoxy or adhesive easily separated from the fiberglass or wood, with little to no bond, meaning the rubber, wood, or fiberglass was unaffected.
Bad epoxies and adhesives were those that seemed to hold at first, but then came off fairly easy with the torque bar. No wood or fiberglass stayed stuck to these, although the wood, fiberglass or rubber may have been slightly impaired.
Okay epoxies and adhesives were those that would hold for a little while, but ultimately they would fail. These epoxies and adhesives would damage the fiberglass, wood, or rubber some, indicating that the bond had some strength.
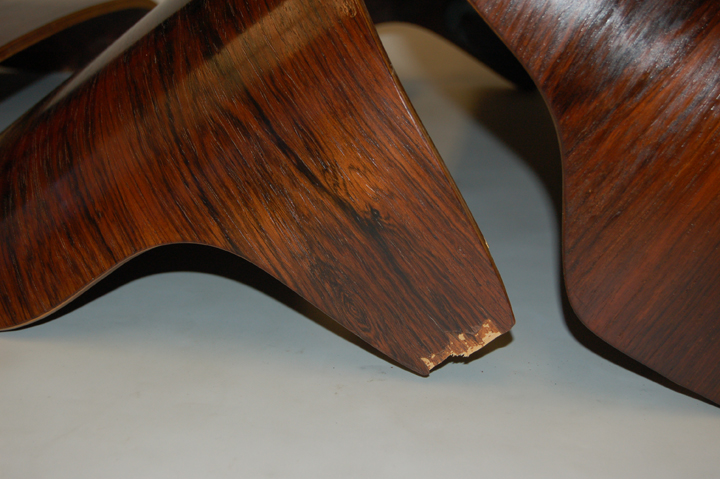
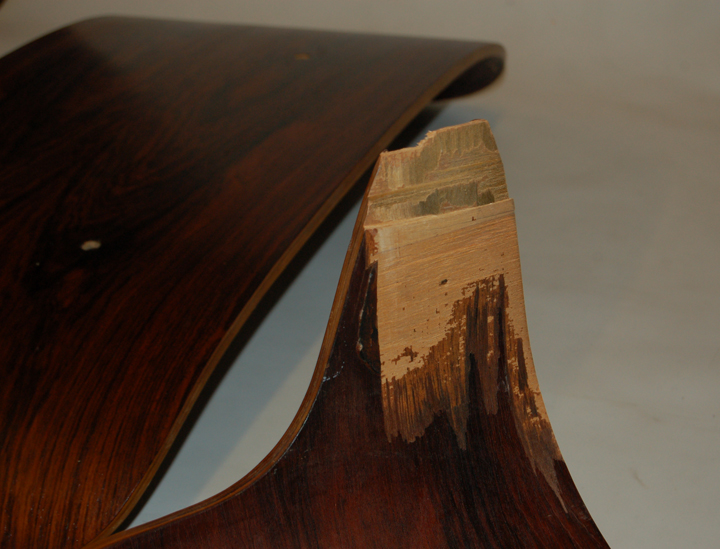
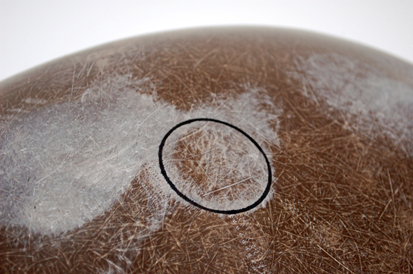
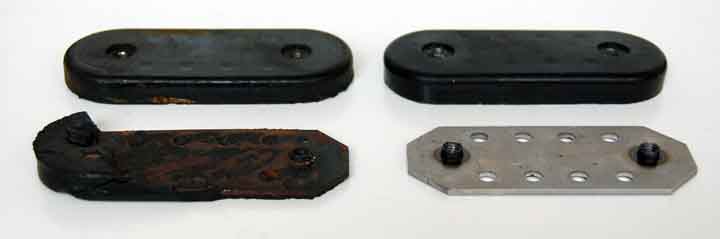
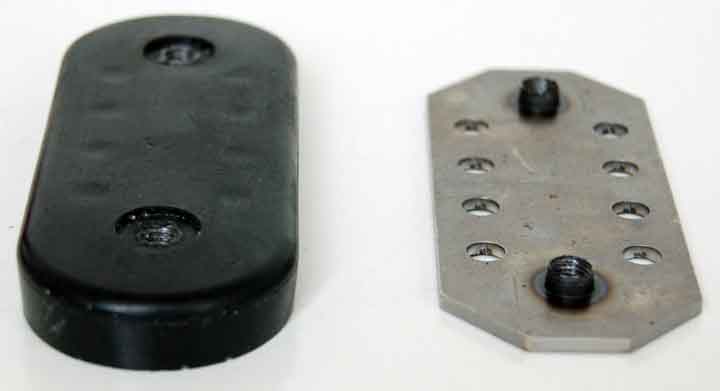
Best epoxies and adhesives were those that were so strong the fiberglass failed, the wood failed, the rubber failed, or a combination of all three. With these epoxies the wood ripped apart, the fiberglass ripped apart, and/or the metal insert inside the shockmount bent. These were exceptionally strong epoxies and adhesives.
Current versus Prospective Modern Conscience Products:
We then proceeded with further tests to compare Modern Conscience’ Current Adhesive with the four possible Prospective Adhesives. They all performed fairly similarly so this time around we’re looking at a variety of factors. We again compare strengths on both fiberglass and wood. Then we also consider the look and feel, cost, and perhaps most importantly, ease of use.
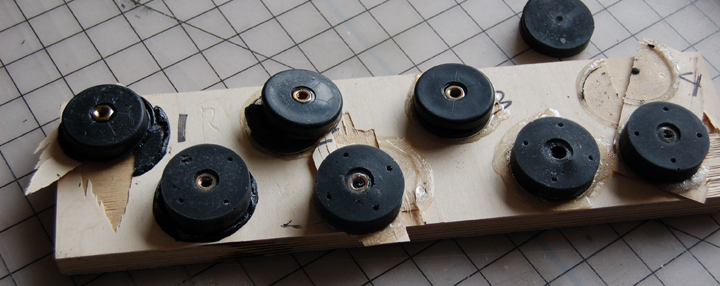
Modern Conscience – Prospective Adhesives Testing
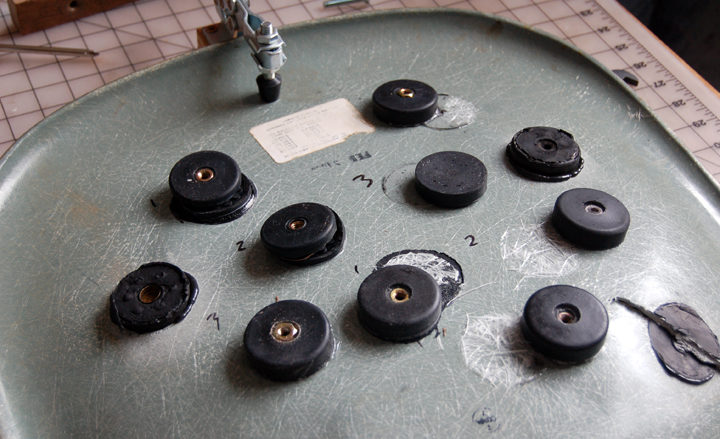
Modern Conscience – Prospective Adhesives Testing
The Results:
After carefully considering all of these factors we’ve decided to offer you a better range of products. Our new line is like nothing else you’ll find. It includes an an adhesive for fiberglass, an adhesive for wood, an activator that works with both, and an adhesive remover (no more panicking about mistakes, yay!). We know you’re going to love it, we already do.
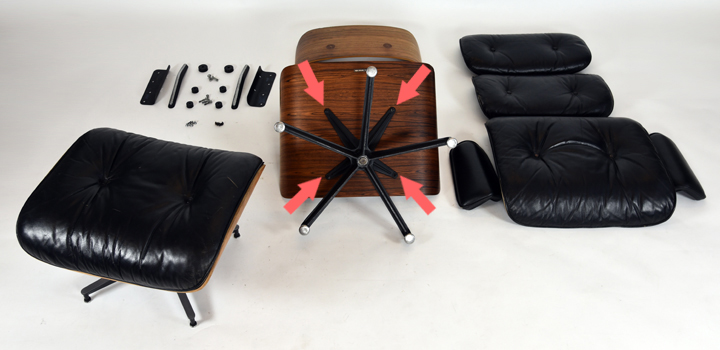
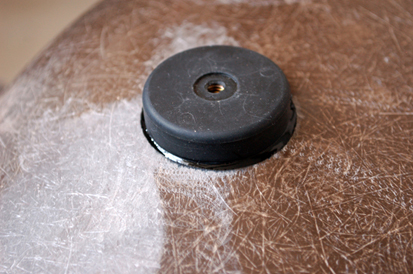
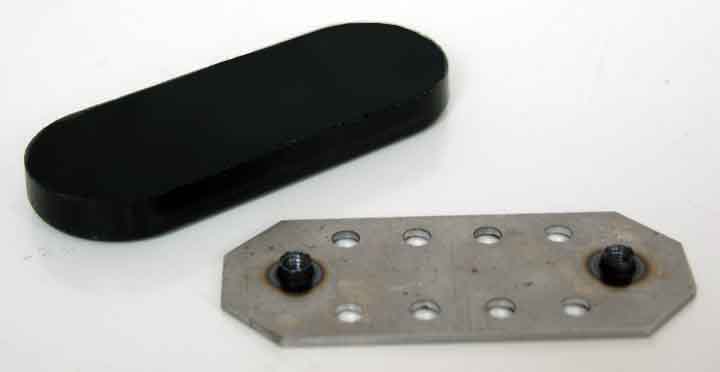
Modern Conscience Fiberglass Shockmount Adhesive has been specifically tested to perform best in the application of a Modern Conscience shockmount to a fiberglass seat. This product is used for the installation of rubber shockmounts on fiberglass seats. It is rubber toughened, black, and reaches full cure strength in about 48 hours.
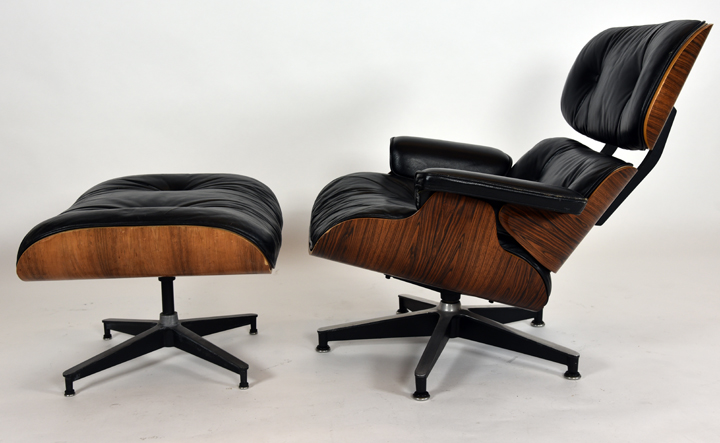
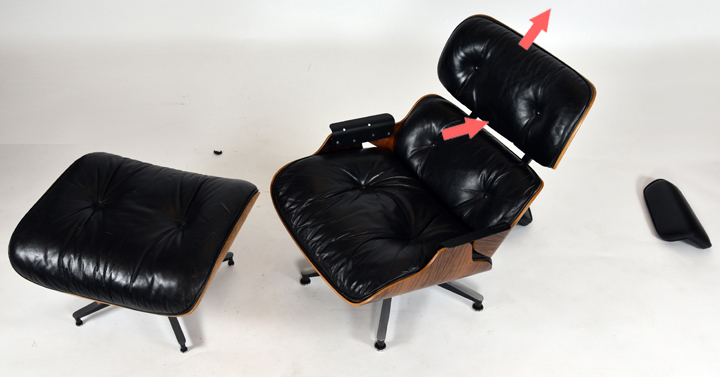
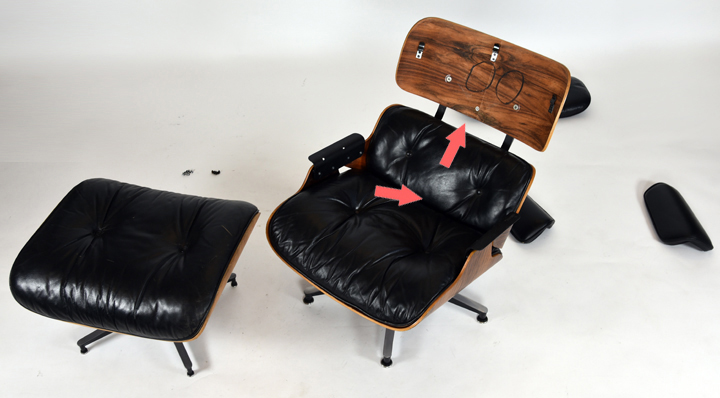
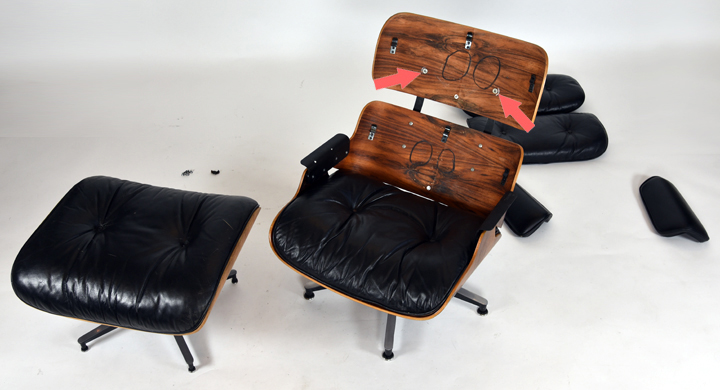
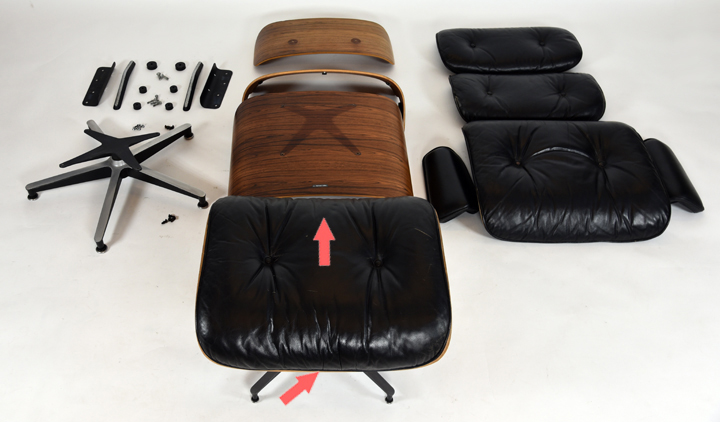
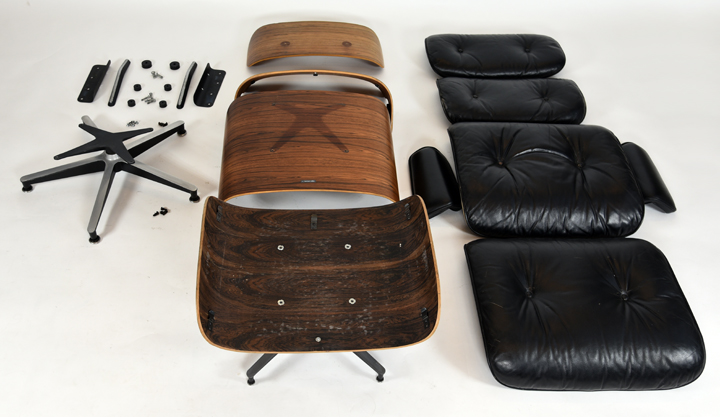
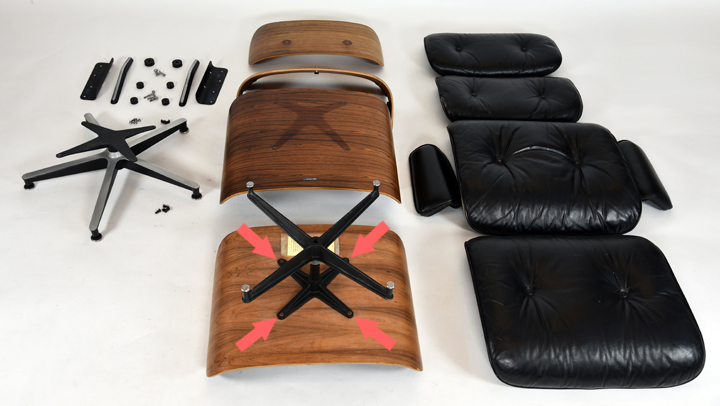
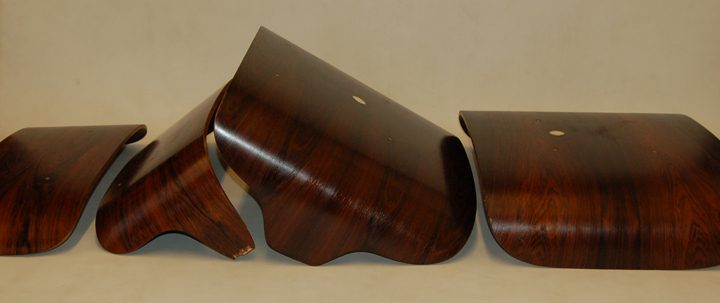
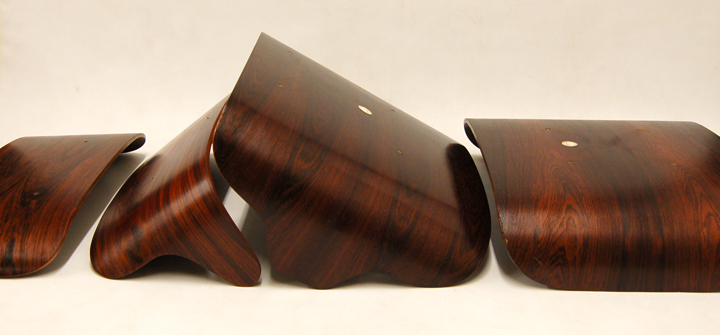
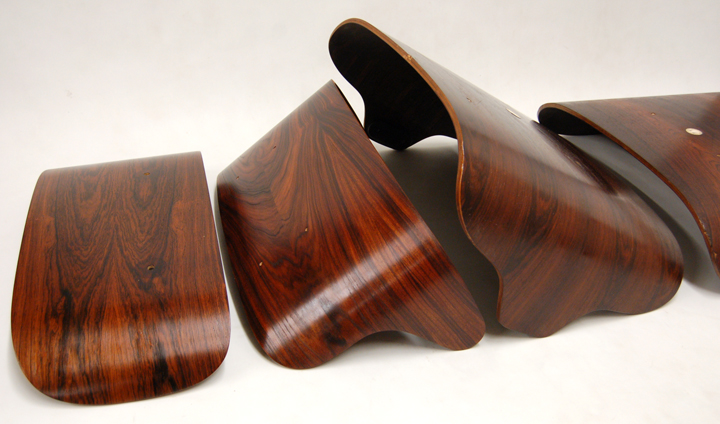
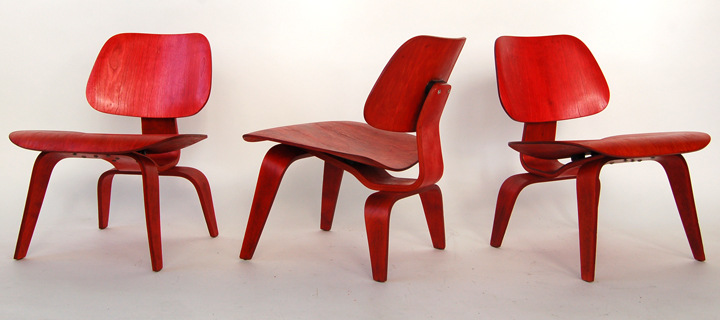
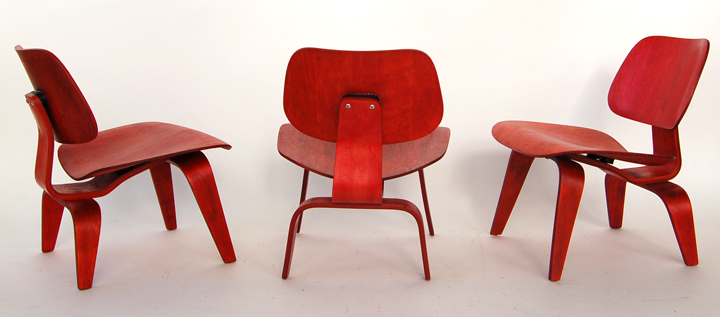
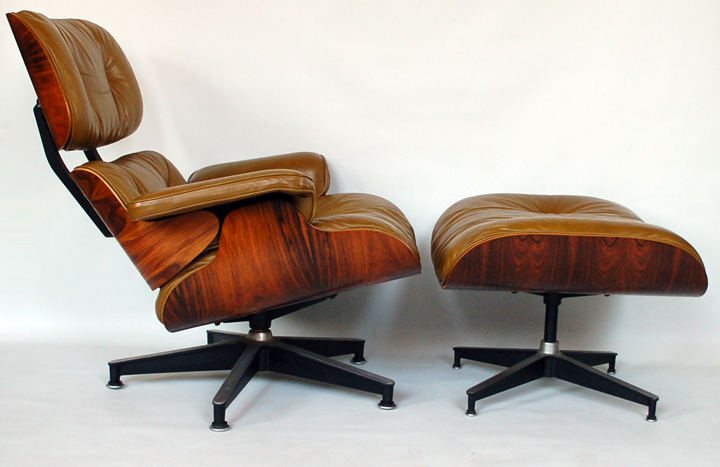
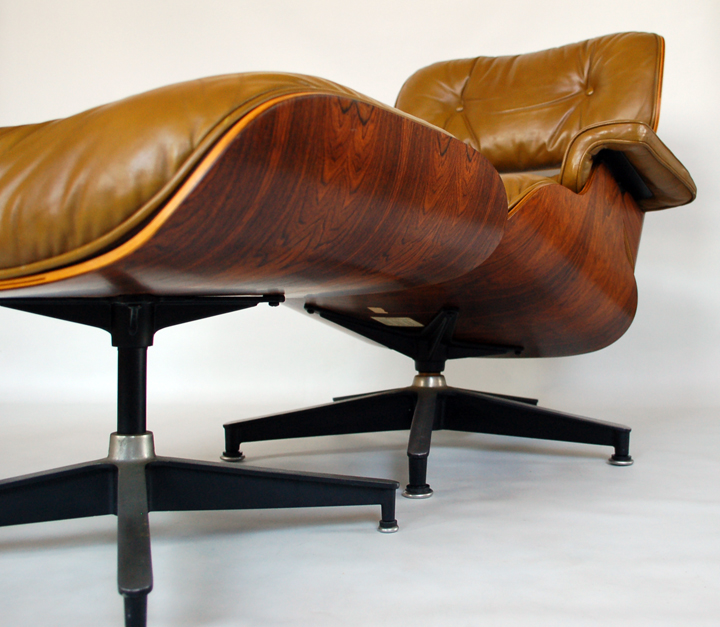
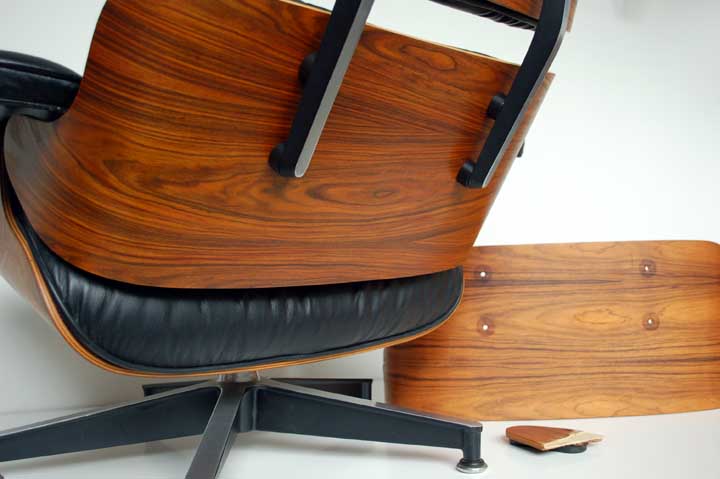
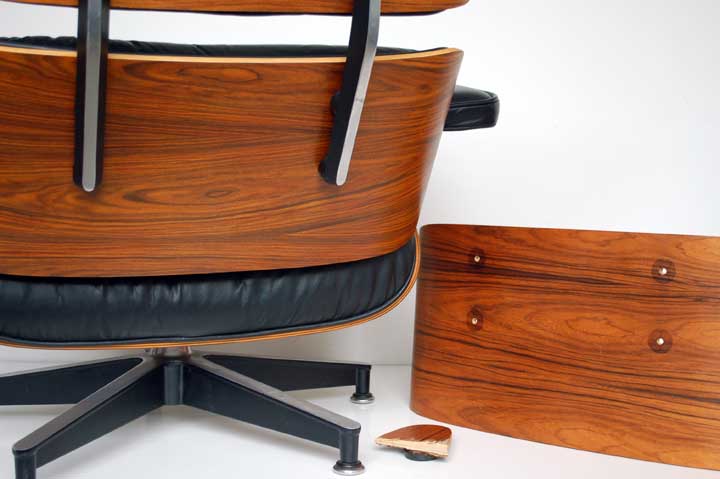
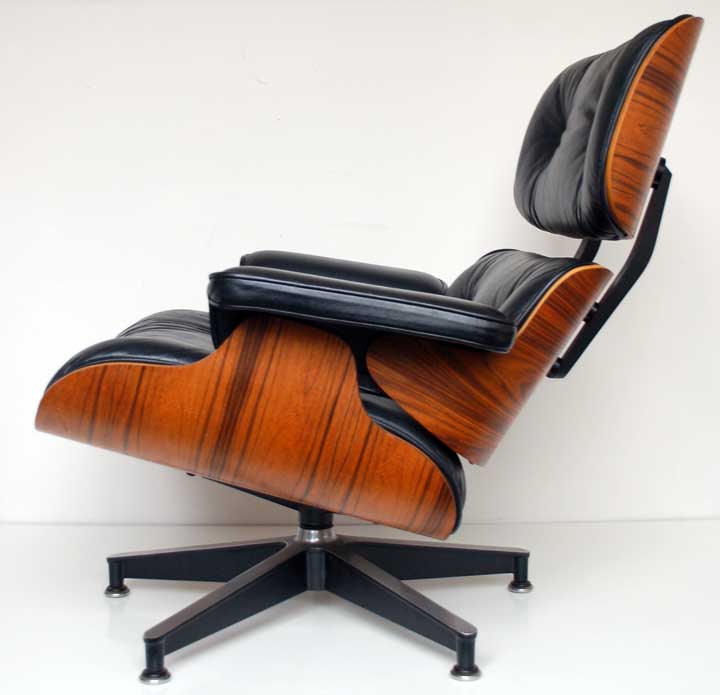
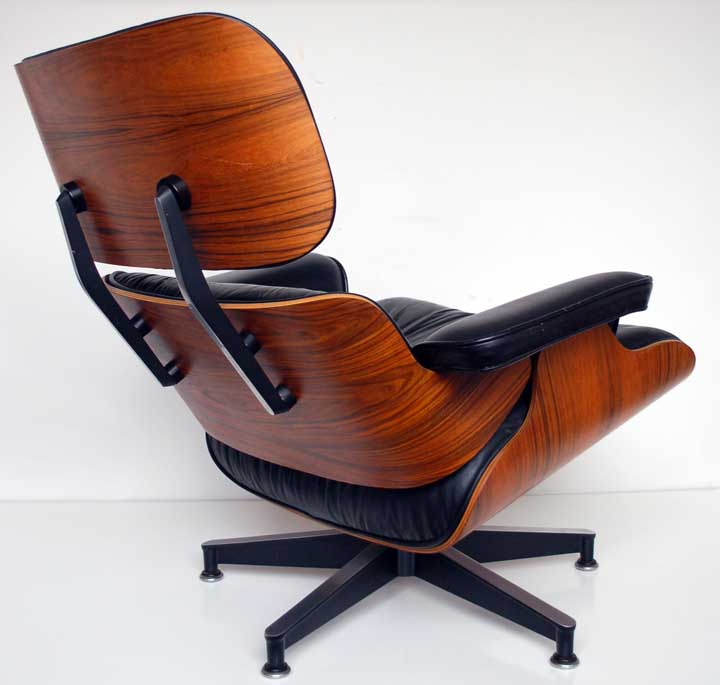
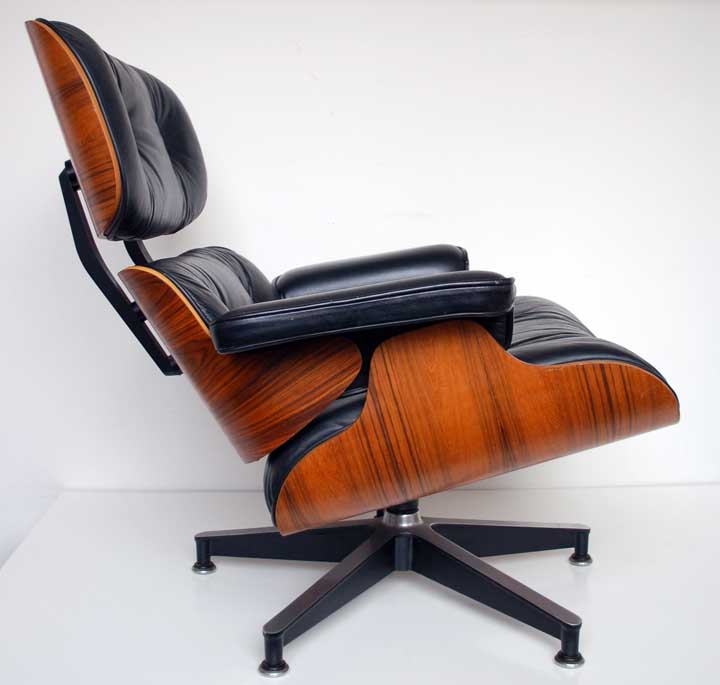
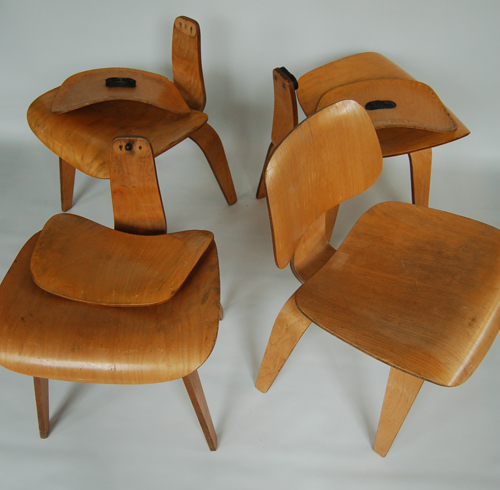
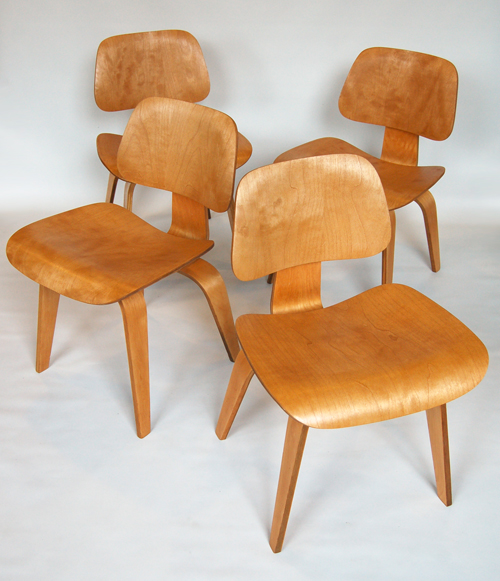
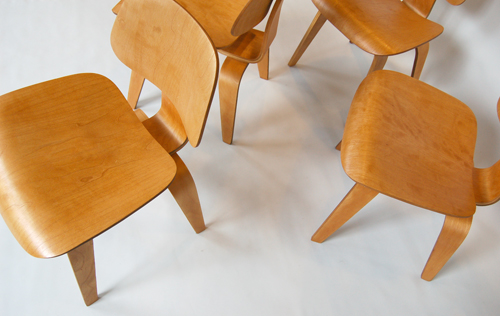
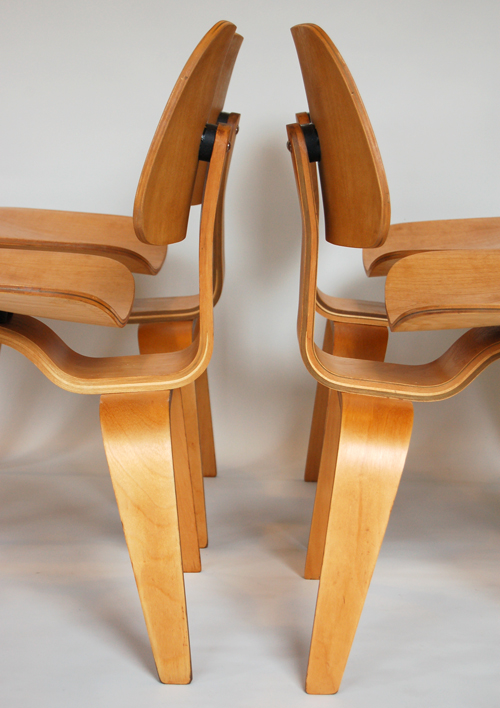
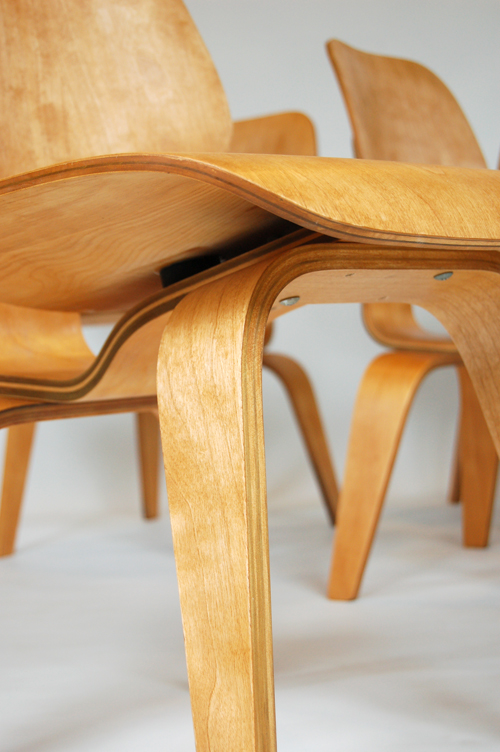
Modern Conscience Wood Shockmount Adhesive has been specifically tested to perform best in the application of a Modern Conscience shockmount to wood surfaces like the plywood panels of the Eames molded plywood series and Eames Lounge. It is a clear gel that reaches full cure strength in about 48 hours.
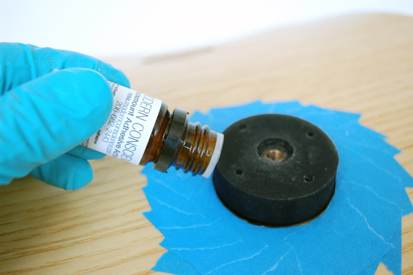
Modern Conscience Adhesive Activator can be used with both the Fiberglass and Wood Shockmount Adhesives. This product is used to accelerate adhesive to eliminate the need for clamping or taping and holds the shockmount in an exact position until full cure strength is reached. This product makes for an incredibly speedy and simple repair process. Please observe full cure times for the adhesives, even when using the accelerator.
Modern Conscience Adhesive Remover will dissolve cured Modern Conscience Adhesive within a few minutes. It can be used to correct repair mistakes as well as to separate fingers that have gotten stuck together with Modern Conscience Adhesive.